
Listen up: If you're still paying $200/month for a CrossFit box when you could be building your own fortress of gains at home, we need to talk.
Building a crossfit home gym isn't just about throwing money at equipment and hoping for the best. It's about creating a strategic training environment that lets you crush WODs, build strength, and develop gymnastics skills, all without turning your living space into a commercial gym (or putting holes in every wall like some kind of fitness-obsessed termite).
The good news? You don't need a 2,000-square-foot warehouse or a $50K budget to get started. What you need is a smart approach to home gym equipment that maximizes versatility while respecting your space and your landlord's sanity.
Let's break down exactly how to build a CrossFit home gym that doesn't compromise on performance or destroy your deposit.
Why Your Space Actually Matters More Than You Think
Before you even think about buying equipment, let's talk about the elephant in the room: your actual space.
Too many athletes jump straight to shopping without considering their training environment. That's backwards. Your space dictates everything, from what movements you can perform to which equipment makes sense (and which is just going to collect dust in the corner).
Here's what you need to assess:
Ceiling height: Can you do pull-ups? Rope climbs? Muscle-ups? If your ceiling is under 8 feet, you'll need to get creative with your vertical training solutions.
Floor type: Are you on concrete, wood, or carpet? Can you drop barbells, or will your downstairs neighbor file a noise complaint every time you do a clean? (Spoiler: rubber flooring is non-negotiable for barbell work).
Wall accessibility: Can you drill into walls, or is that a hard no from your landlord? This determines whether traditional wall-mounted rigs are even an option.
Available footprint: How much floor space can you dedicate to training? Be honest here, you need room to move, not just store equipment.
The brutal truth is that many traditional CrossFit setups require permanent installation, significant wall damage, and a commitment to staying put for years. But there's a better way.
The Foundation: Essential Equipment You Can't Skip
Every solid CrossFit home gym starts with non-negotiables. These are the pieces that unlock 80% of CrossFit programming without requiring a trust fund.
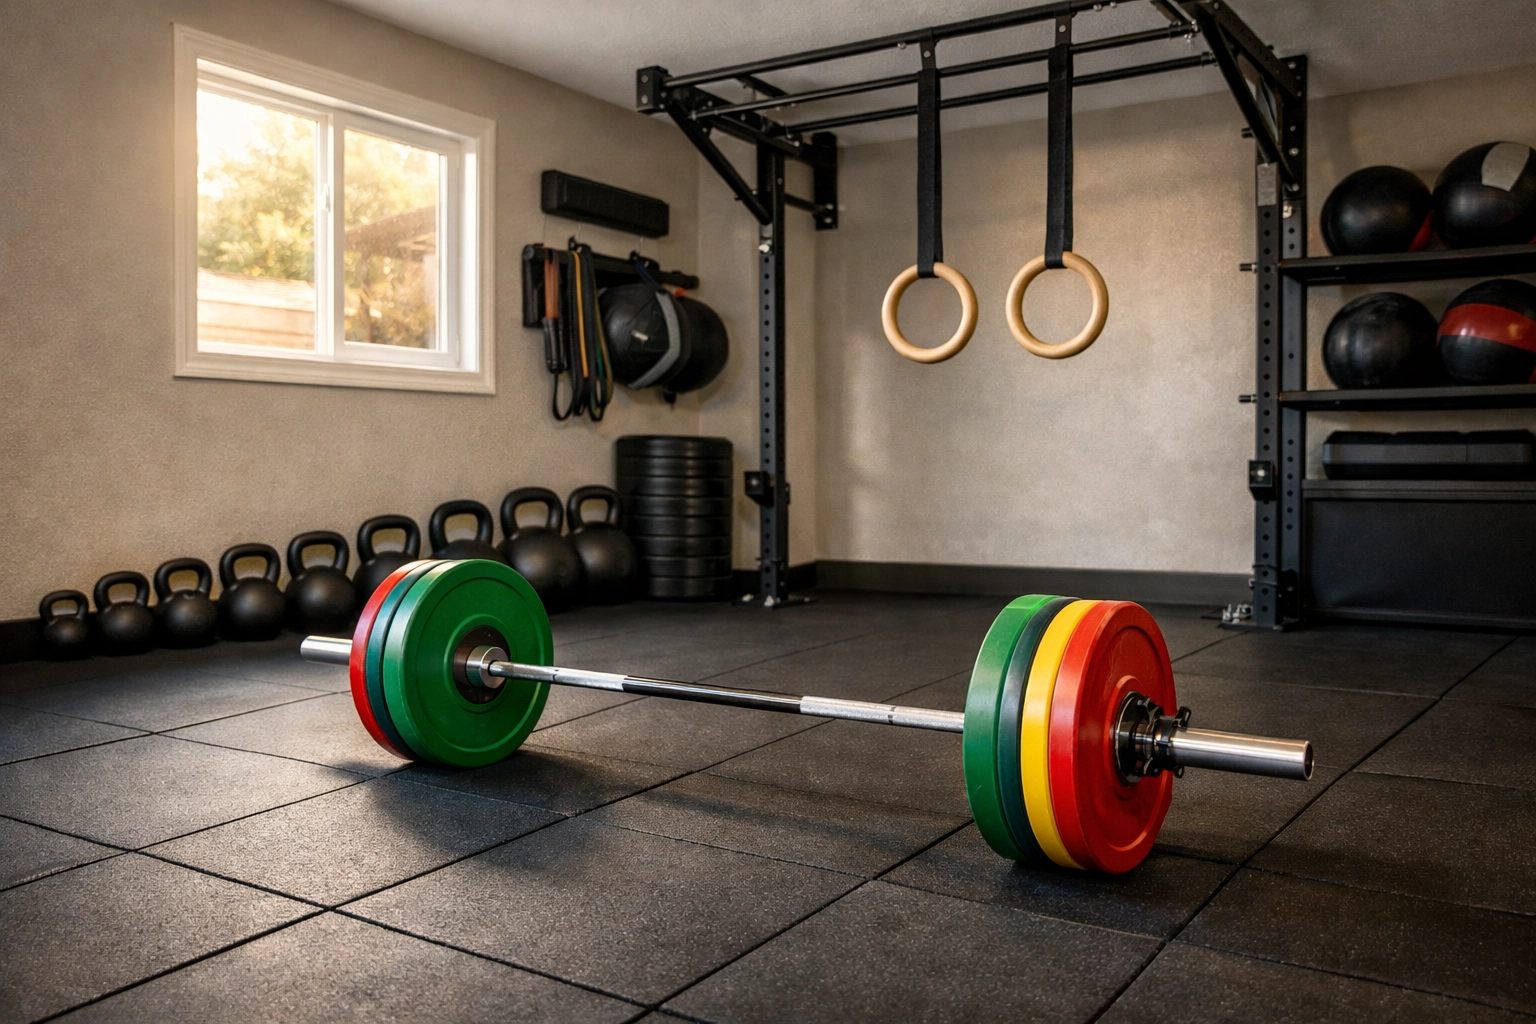
Barbell and Bumper Plates
Your barbell is your best friend. Seriously. Olympic lifts, squats, deadlifts, presses, the barbell handles it all. Start with a quality bar (the Rogue Bar 2.0 or similar) and 60-100kg of bumper plates. You can always add weight later, but starting with enough load to challenge yourself is crucial.
Pro tip: Bumper plates allow you to drop the bar from overhead without destroying your floor (or your equipment). This isn't optional, it's essential.
Kettlebells and Dumbbells
Kettlebells are CrossFit royalty for a reason. Swings, snatches, Turkish get-ups, goblet squats, the list goes on. Start with one or two weights you can handle for most movements (typically 16kg/35lbs for women, 24kg/53lbs for men), then expand from there.
Dumbbells fill the gaps for accessory work, single-arm movements, and MetCons when you need variety. A set of adjustable dumbbells saves space if you're tight on room.
Rubber Flooring
This isn't glamorous, but it's mandatory. Rubber tiles or mats protect your floor, reduce noise, and create a designated training zone. Go for 3/4" thickness minimum if you're doing barbell work.
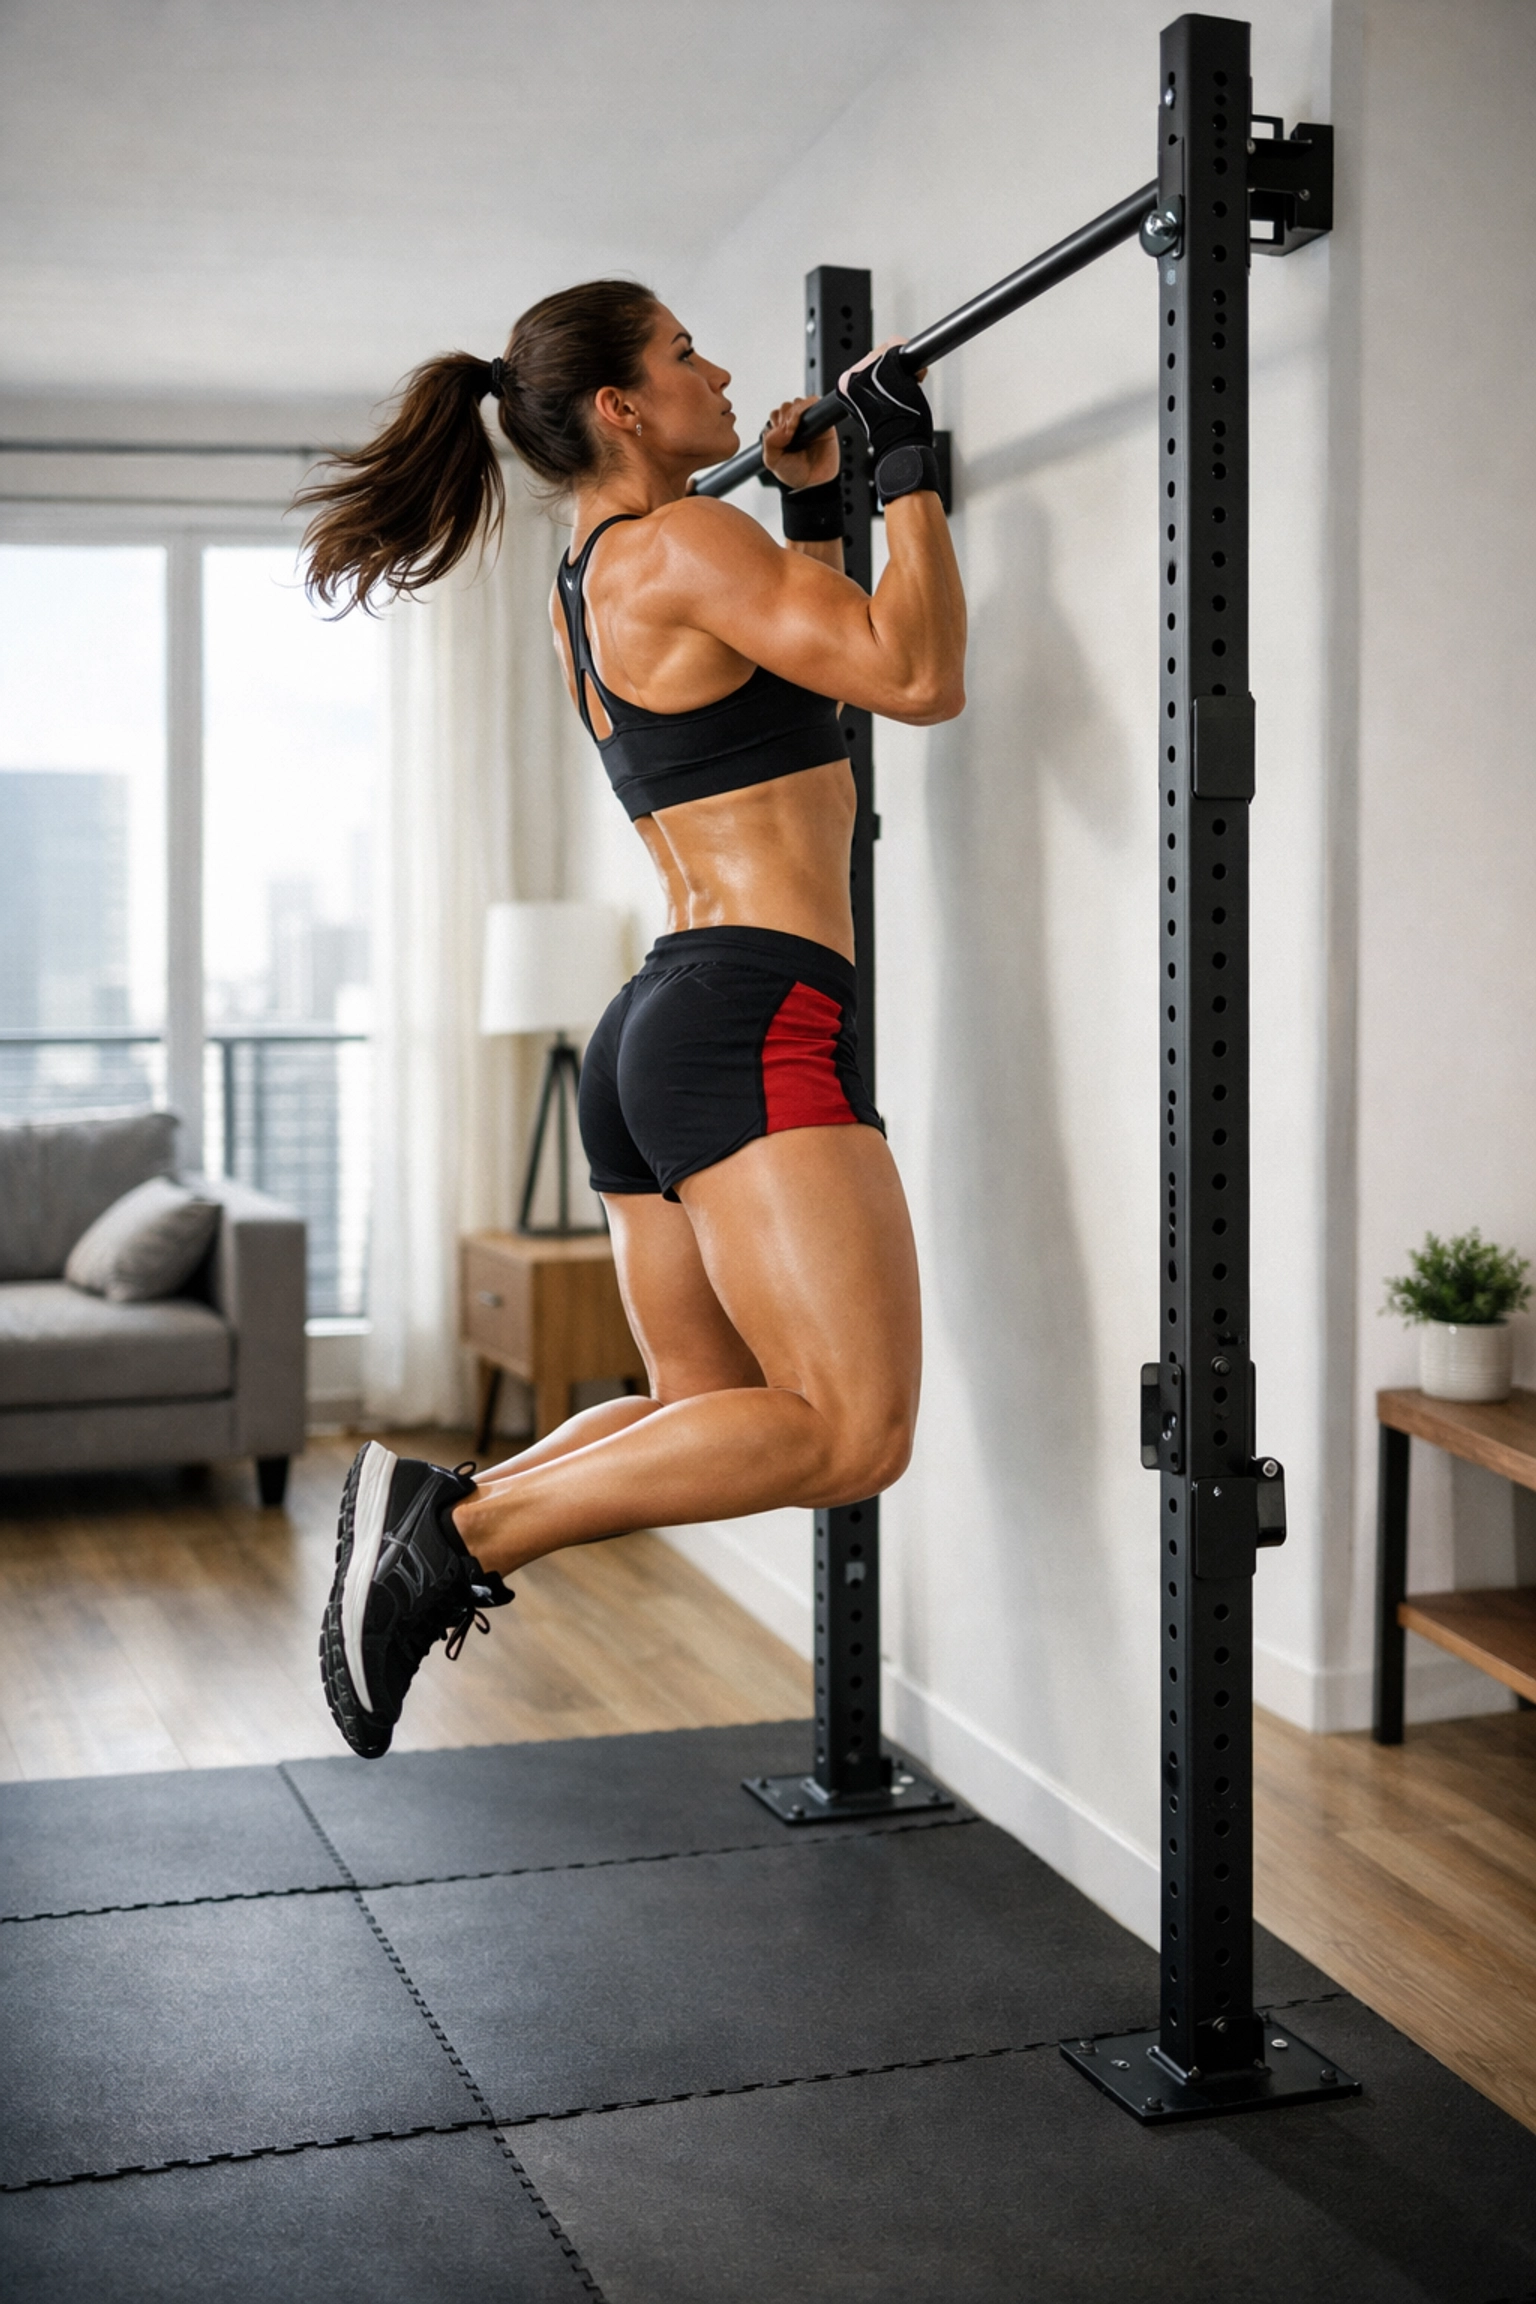
Pull-Up Bar (But Make It Smart)
Here's where most people screw up. They either mount a traditional bar that requires drilling into studs, or they buy a doorway bar that's basically useless for any real training volume.
CrossFit demands serious pull-up capacity, not just basic dead hangs. You need something that can handle kipping pull-ups, muscle-ups, toes-to-bar, and everything in between. But if you're renting or don't want to destroy your walls, you need a smarter solution.
This is exactly why Bold Body Fitness created the Resistance Rail, a no wall damage workout system that installs floor-to-ceiling without permanent mounting. It's like having a full gymnastics rig without turning your apartment into a construction zone. More on this game-changer in a minute.
Space-Efficient Strength Equipment That Actually Works
Let's address the power rack situation. Yes, a full squat cage is amazing. Yes, it provides safety and versatility. But it also eats 50+ square feet of floor space and often requires bolting to the ground.
If you've got the space and commitment, go for it. The REP PR-4000 or Rogue RML-390F are solid choices that won't break after 1,000 workouts.
But if space is tight or you're not ready to commit to permanent installation, consider:
Squat stands with a pull-up bar attachment: These collapse when not in use and provide 90% of what a full rack offers. Perfect for squats, bench press, and overhead press work.
Adjustable benches: A quality flat/incline bench opens up dozens of movements without hogging space. Look for something that folds and stores easily.
Resistance Rail as your vertical training hub: This is where things get interesting. Instead of mounting separate pull-up bars, dip stations, and suspension training anchors all over your space, the Resistance Rail consolidates everything into one versatile, non-permanent system.
It's a floor to ceiling gym solution that creates infinite anchor points for:
- Strict and kipping pull-ups
- Muscle-ups
- Ring work
- Suspension training
- Resistance band work
- Climbing movements
The best part? Zero wall damage. Zero permanent installation. You can set it up, train hard, and move it when you need to: making it perfect for renters, garage gyms, or anyone who values flexibility.
Conditioning Without Sacrificing Your Entire Room
CrossFit MetCons demand conditioning equipment, but not everyone has space for a Concept2 rower, Assault bike, and ski erg all lined up like a cardio dealership.
Here's the hierarchy:
Tier 1 (If you have the space and budget): A Concept2 rower or Echo bike. Both are incredible for building engine and replicating competition conditions. They're also expensive and bulky, so don't feel pressured if you're not there yet.
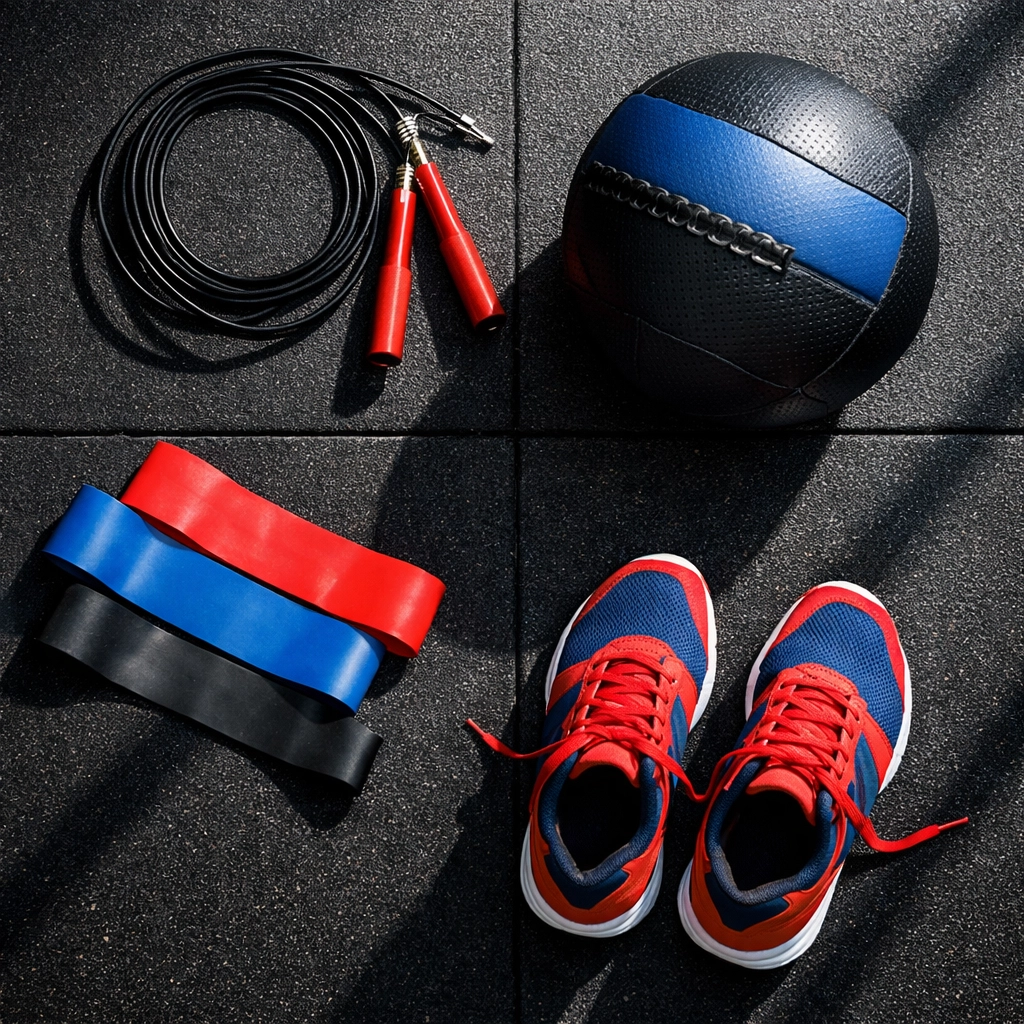
Tier 2 (Smart space-savers): Jump rope, medicine balls, and a sturdy box for box jumps. These deliver serious conditioning without monopolizing square footage. A quality jump rope costs $20 and provides world-class cardio training.
Tier 3 (The creative solutions): Sled pushes (if you have outdoor space), hill sprints, burpees, and bodyweight conditioning. Sometimes the best equipment is no equipment.
The reality is that full body workout at home conditioning doesn't require machines: it requires intensity and creativity. Mix barbell complexes, bodyweight circuits, and interval training to build your engine without buying a small gym's worth of cardio equipment.
Gymnastics and Bodyweight Training: Where CrossFit Gets Real
This is where CrossFit separates itself from traditional strength training. Gymnastics movements: muscle-ups, handstand push-ups, pistol squats, L-sits: build body control and relative strength that pure barbell work can't touch.
And here's the secret: bodyweight training at home requires minimal equipment but maximal versatility.
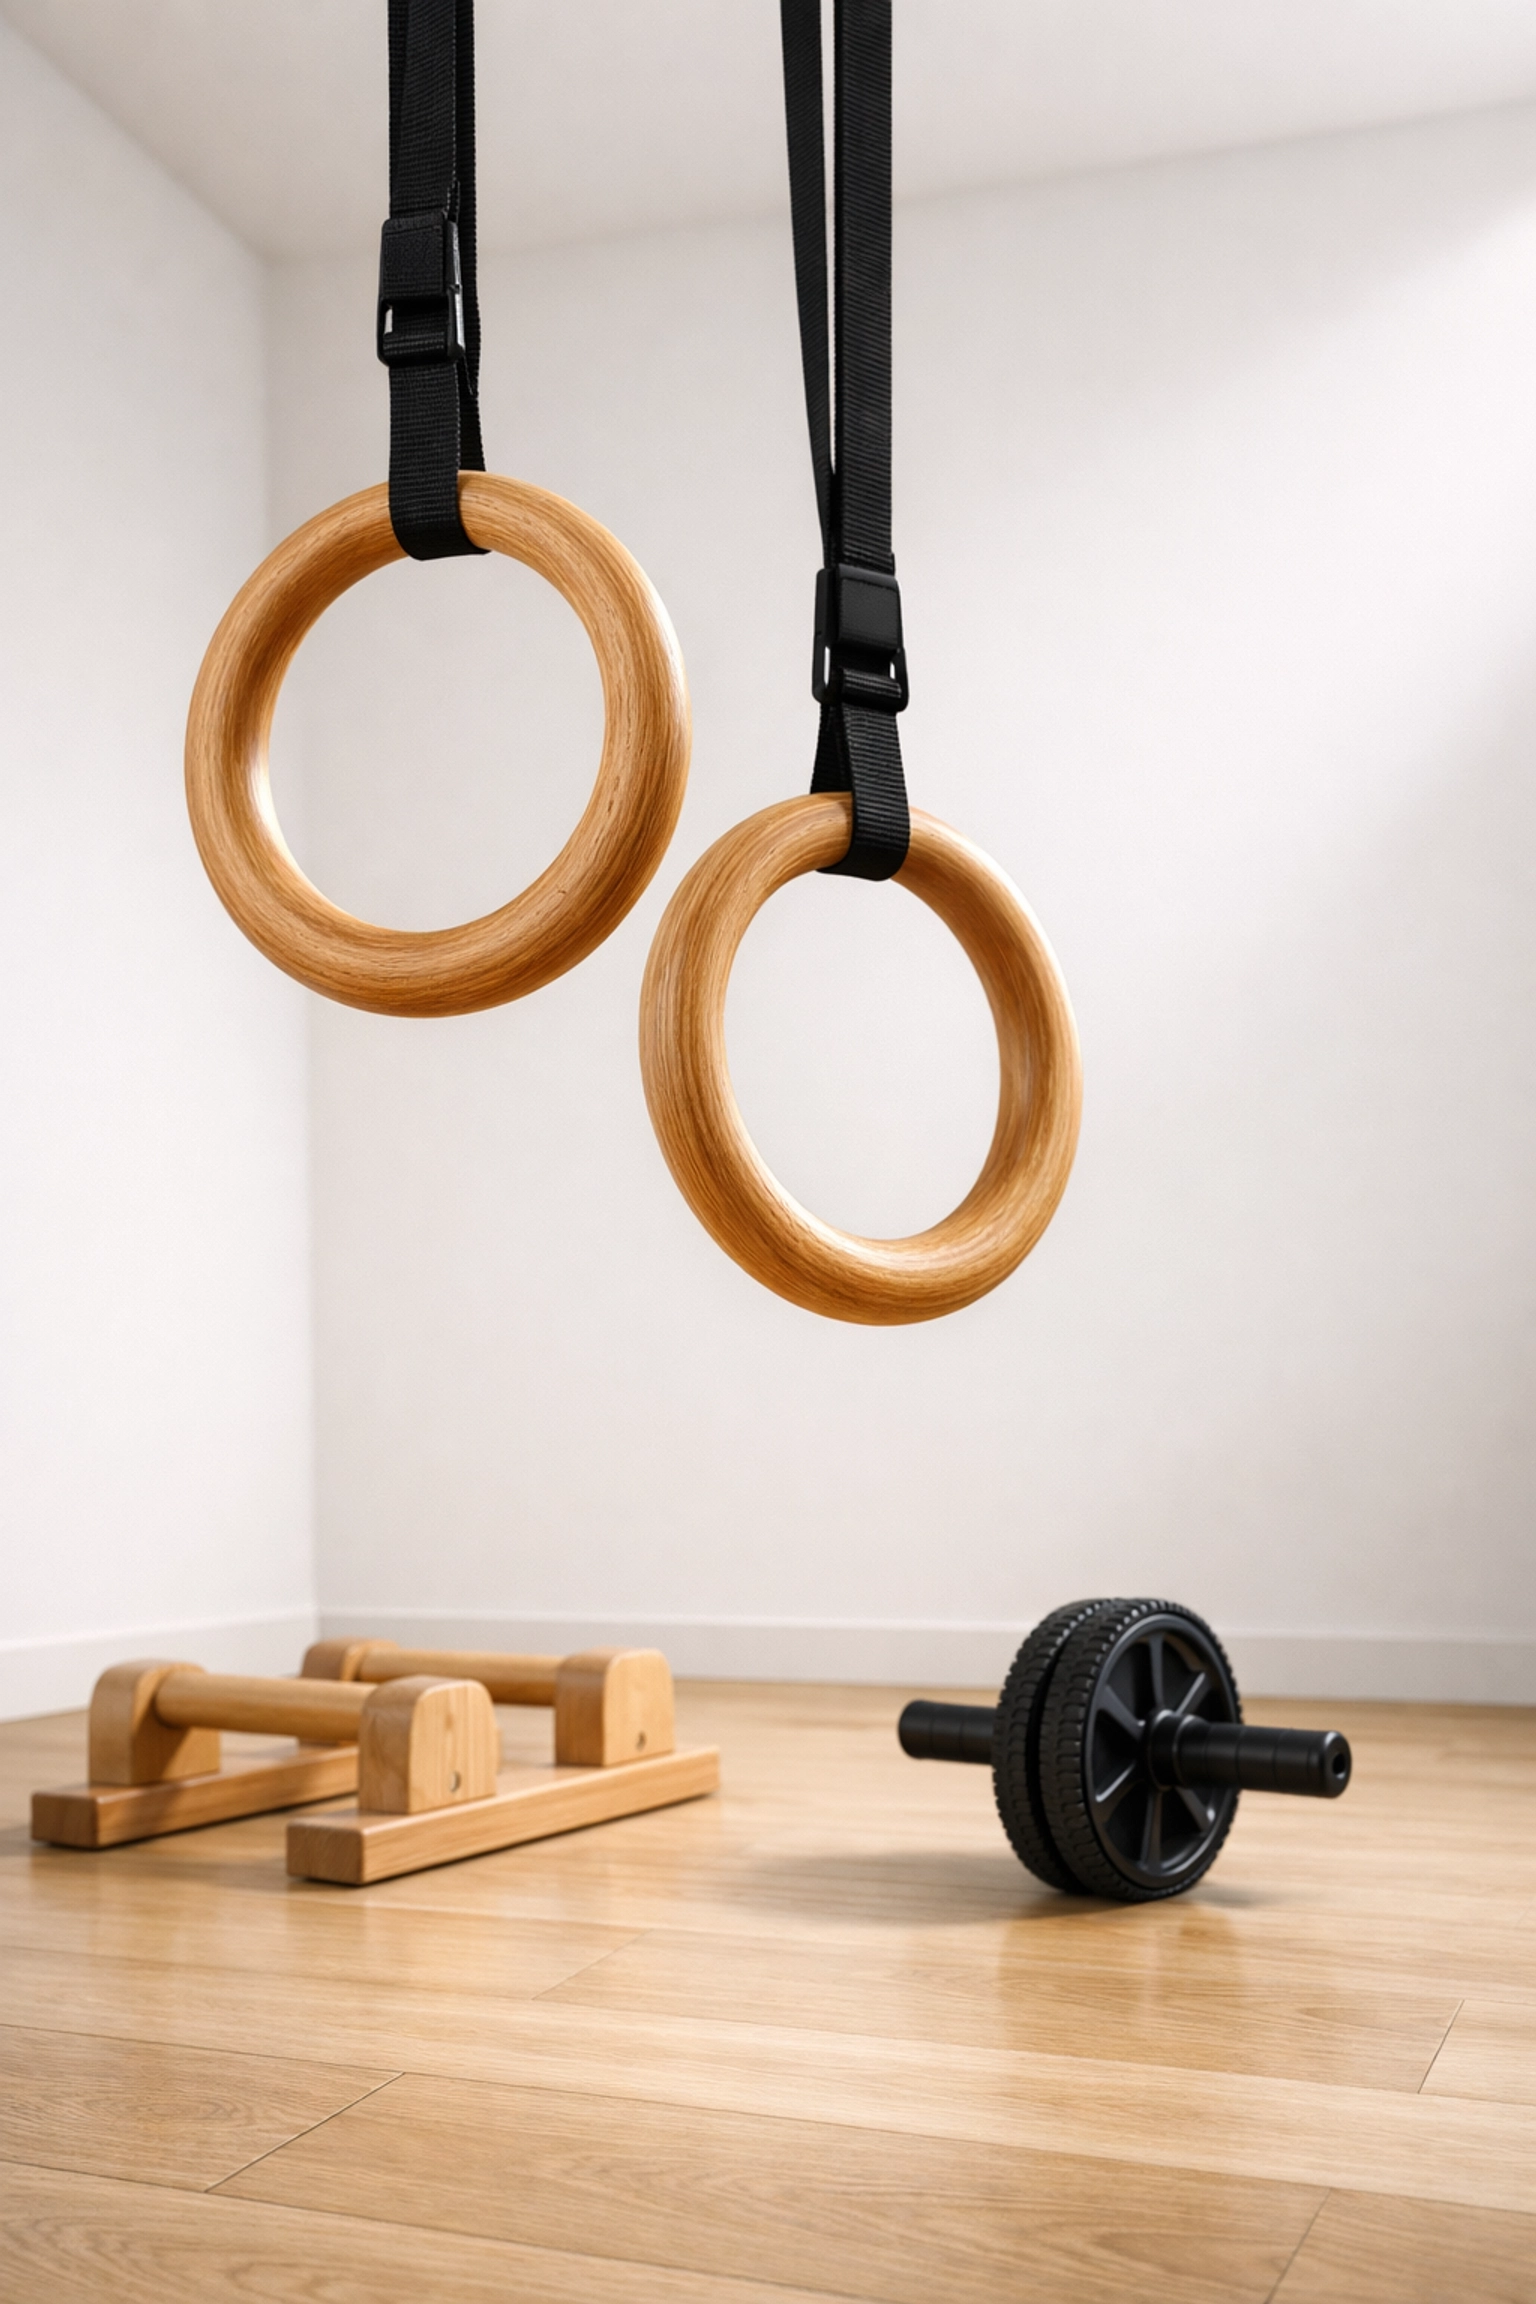
Gymnastics Rings
Rings are non-negotiable for serious CrossFit athletes. They're cheap, portable, and unlock dozens of movements from ring dips to iron crosses (if you're a masochist). Mount them to your Resistance Rail for instant adjustment and rock-solid stability.
Parallettes
Perfect for L-sits, handstand work, and building wrist/core strength. They're small, affordable, and store under your couch.
Peg Board
Want to build grip strength and upper body power that translates to everything? A peg board is your answer. Again, if you're using a versatile home gym system like the Resistance Rail, you can create mounting points without drilling new holes every time you want to add equipment.
Ab Wheel and Sliders
Simple, effective, and they cost about as much as a burrito. Core strength is the foundation of every CrossFit movement, and these tools deliver results.
The beauty of calisthenics equipment for home training is that most of it is affordable, portable, and incredibly effective. You don't need a massive budget: you need the right setup that allows you to train progressively and consistently.
Budget Strategy: Build Smart, Not Fast
Let's talk money. You could drop $10K in a weekend and have a fully loaded gym, or you could build strategically over 6-12 months and end up with a better setup.
Here's the smart approach:
Month 1-2: Barbell, plates, rubber flooring, basic pull-up solution. This gets you started with the fundamentals.
Month 3-4: Kettlebells, dumbbells, jump rope, rings. Add variety and conditioning options.
Month 5-6: Squat stand or rack, adjustable bench. Level up your strength training capacity.
Month 7-12: Specialty items like rower, GHD, additional plates, or specialized equipment based on your goals.
The key is to start training immediately with what you have while systematically expanding based on what your programming demands. Don't buy equipment you "might" use: buy what you'll use three times per week minimum.
When it comes to creating a pull-up bar alternative that doesn't require wall damage, investing in a system like the Resistance Rail early actually saves money long-term. Instead of buying separate pull-up bars, dip stations, and mounting hardware that destroys your walls, one comprehensive system handles everything.
Making It All Work Without Destroying Your Space (Or Your Sanity)
Here's where most people fail: They buy great equipment but create a dysfunctional training space that makes every workout feel like an obstacle course.
Organization is training optimization. Store weights on wall-mounted racks or plate trees. Keep small equipment in bins or shelves. Create designated zones for different training modalities: barbell work here, bodyweight work there, conditioning in this corner.
The Resistance Rail approach shines here because it consolidates multiple training modalities into one footprint. Instead of pull-up bars scattered across your ceiling, dip bars bolted to walls, and suspension training anchors everywhere, you have one central hub that handles it all without permanent installation.
This matters whether you're in an apartment, a garage, or even a basement. The less permanent damage you do, the more flexibility you maintain: and the more likely you are to actually use the space consistently.
Your Next Move
Building a CrossFit home gym isn't about recreating your local box in miniature. It's about creating a strategic training environment that supports your goals without compromising your space or budget.
Start with the essentials: barbell, plates, flooring, and a smart vertical training solution. Expand based on your actual training needs, not Instagram fitness porn. And prioritize equipment versatility over single-use specialty items.
If you're serious about resistance training that includes gymnastics, calisthenics, and functional fitness without destroying your walls, check out the Bold Body Fitness shop for equipment designed specifically for serious athletes who train in real-world spaces.
Your home gym should empower your training, not limit it. Build smart, train hard, and stop making excuses.
Time to get to work.