
Listen, I get it. You’re tired of the crowded commercial gyms, the ego-lifting meatheads hogging the squat rack, and the monthly fees that could be going toward your actual gains. You decided to build your own sanctuary, a place where you can master the muscle-up, crush your handstands, and build real-world strength on your own terms.
But here’s the cold, hard truth: most home calisthenics setups suck.
I’m Brian Kerr, the founder of Bold Body Fitness, and I’ve seen it all. I’ve seen pull-up bars that rip out of doorframes, "gyms" that are just a pile of dusty bands in a corner, and setups that are so cramped you can’t even kick up into a handstand without taking out a ceiling fan.
If you’re serious about bodyweight training at home, you need more than just a floor and a dream. You need a setup that actually supports your progress, keeps you safe, and doesn't turn your living room into a demolition zone. Whether you’re a ninja warrior, a gymnast, or a CrossFit athlete looking to supplement your WODs, you need to avoid these seven common mistakes.
Here is how you fix your setup and finally get the full body workout at home you deserve.
1. You Forgot to Look Up (The Ceiling Height Trap)
Most people start their home gym journey by looking at the floor. They measure out a 6x6 space and think, "Yeah, I can fit a mat here." But in calisthenics, your vertical space is just as important, if not more so, than your square footage.
If you’re planning on doing muscle-ups, explosive pull-ups, or even just hanging leg raises, you need clearance. There is nothing that kills a workout faster than hitting your head on the ceiling during a PR attempt.
The Fix: Measure your reach. Stand on your tiptoes, reach for the sky, and add at least 12 to 18 inches. That’s where your bar should be, with plenty of air above it. If you’re dealing with low ceilings, you need a floor to ceiling gym solution that allows for adjustable heights. Don’t just buy a standard rack and hope for the best.
2. Drilling Holes You’ll Regret (The Wall Damage Dilemma)
I’ve talked to countless athletes who are stuck between a rock and a hard place. They want a sturdy pull-up bar, but they’re either renting or they don't want to drill massive lag bolts into their home’s structural studs. The "doorway" bars are a joke, they damage the trim and limit your range of motion.
If you’re looking for a no wall damage workout system, stop looking at the hardware store for heavy-duty bolts.
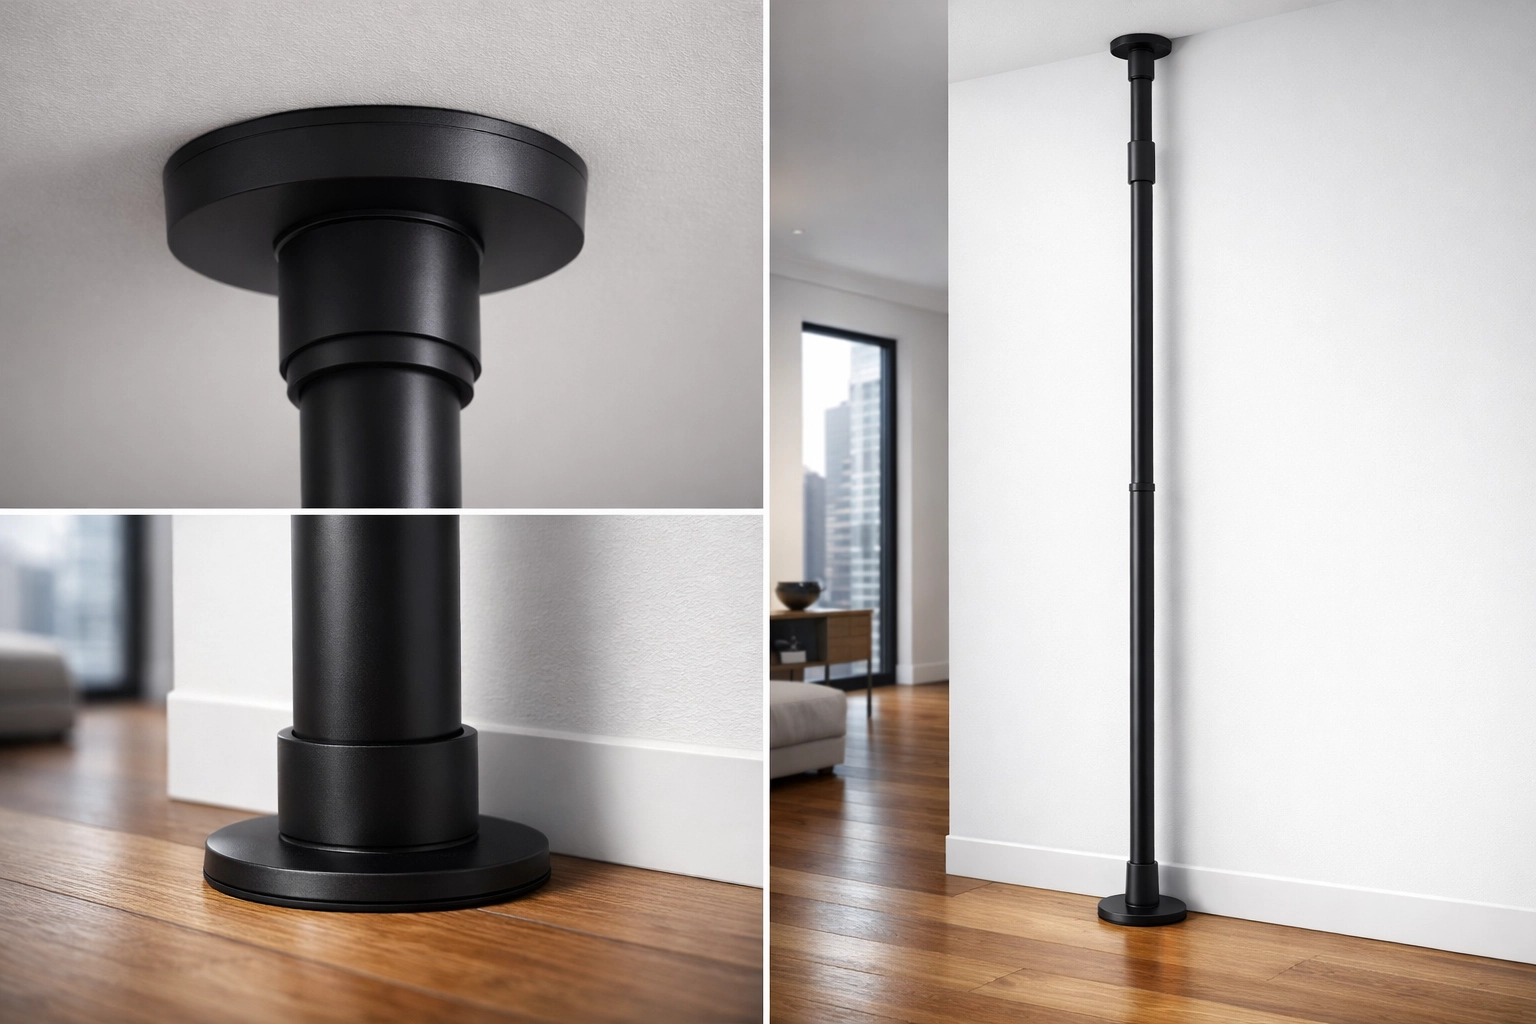
The Fix: You need a tension-based or free-standing system that provides the stability of a bolted-in rack without the permanent scars on your drywall. This is exactly why we designed the Resistance Rail. It’s a high-performance pull up bar alternative that uses vertical tension to stay rock-solid. You get the stability of a professional rig without the "Security Deposit" anxiety.
3. Treating Your Floor Like an Afterthought
If you’re doing calisthenics equipment for home right, you’re going to be spending a lot of time on the ground. Planks, push-ups, burpees, and handstand progressions require a surface that is both grippy and forgiving.
A lot of guys just throw a thin yoga mat over hardwood or concrete and call it a day. That’s a one-way ticket to joint pain and "turf toe."
The Fix: Invest in high-density rubber flooring before you buy anything else. If you’re setting up a CrossFit home gym vibe, go for the 3/4-inch stall mats. They’re indestructible. If you want something more aesthetic for a multi-purpose room, look for interlocking tiles with a high Shore A hardness rating. Good flooring doesn't just protect your joints; it protects your equipment from the floor and vice versa.
4. Buying "Single-Use" Equipment
In a home gym, space is your most valuable currency. If you buy a dedicated dip station, a dedicated pull-up tower, and a separate rack for your bands, you’re going to run out of room before you run out of exercises.
Serious athletes need a versatile home gym. You need equipment that can transition from pull-ups to rows to weighted dips in seconds.
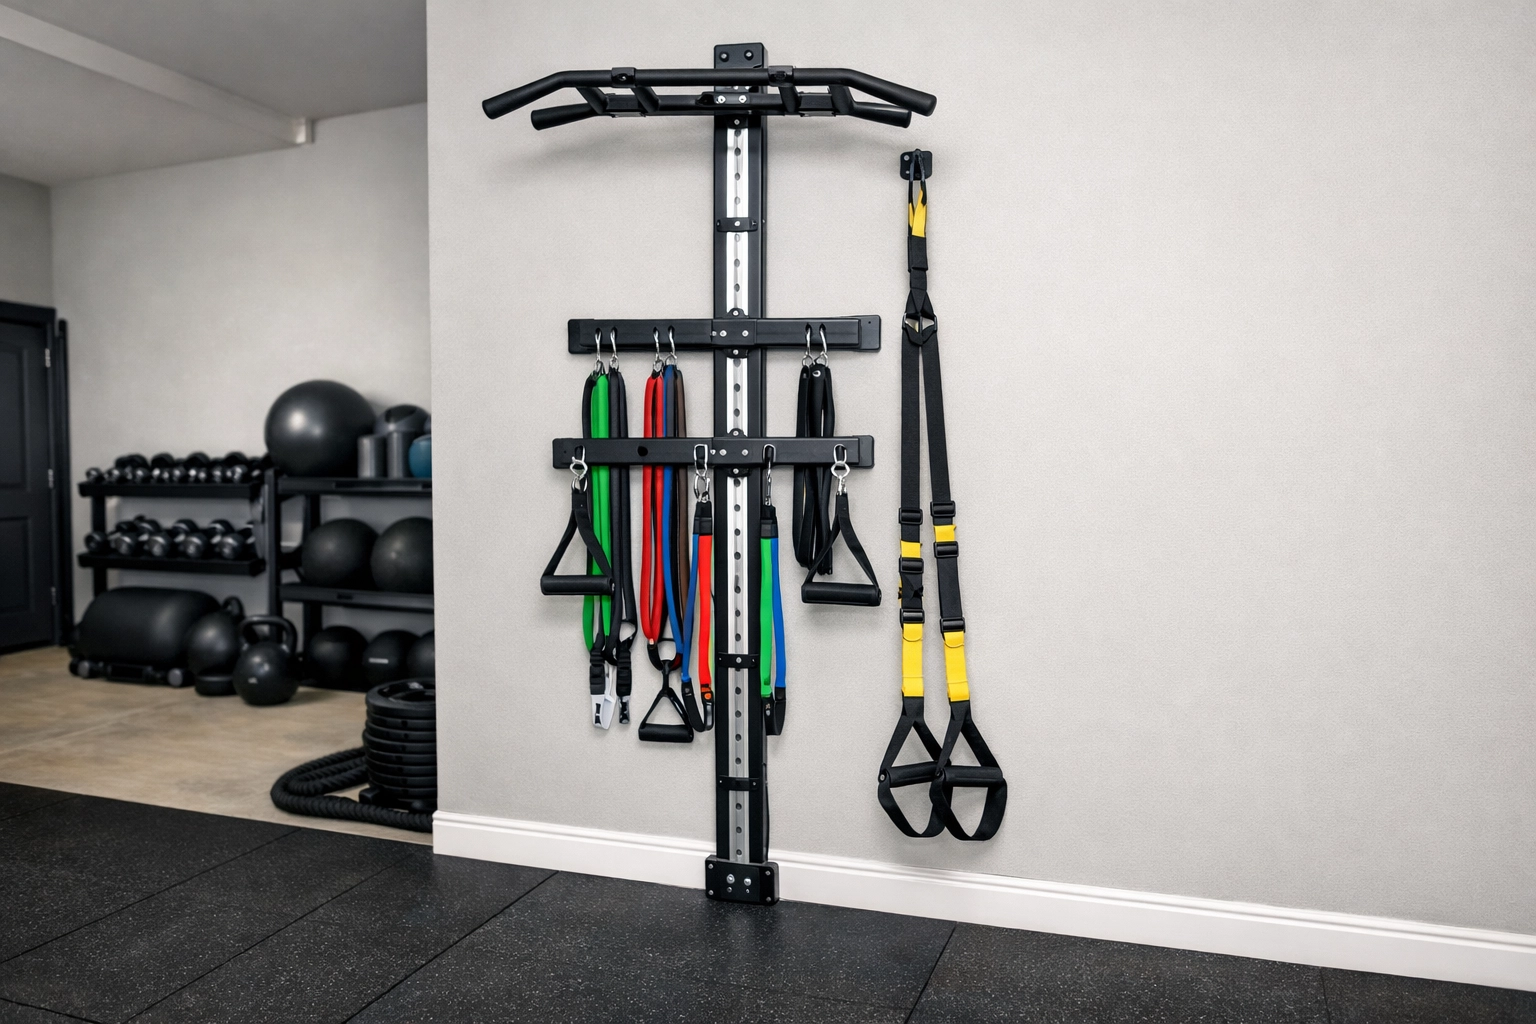
The Fix: Look for modular systems. Your setup should be the Swiss Army Knife of fitness. This is where the Resistance Rail shines. It’s not just a bar; it’s an anchor point for resistance training, suspension trainers, and calisthenics accessories. When one piece of equipment can handle 50+ movements, you’ve won the home gym game.
5. Ignoring Progressive Overload (The "Plateau" Problem)
This is the biggest mistake in bodyweight training. People think that because it’s "calisthenics," they don’t need weights or extra resistance. But once you can do 15 clean pull-ups, doing 20 isn't building strength, it’s building endurance.
If you want to look like an MMA fighter or a gymnast, you need to increase the intensity.
The Fix: Your setup must accommodate extra load. This means having space for a weighted vest, or better yet, integrated resistance band anchors. Resistance training is the secret sauce to breaking through calisthenics plateaus. Use bands to make movements harder (like resisted push-ups) or to assist you in learning advanced skills (like the front lever).
Check out our Shop for tools that help you bridge the gap between "bodyweight only" and "elite strength."
6. Poor Lighting and Zero Vibe
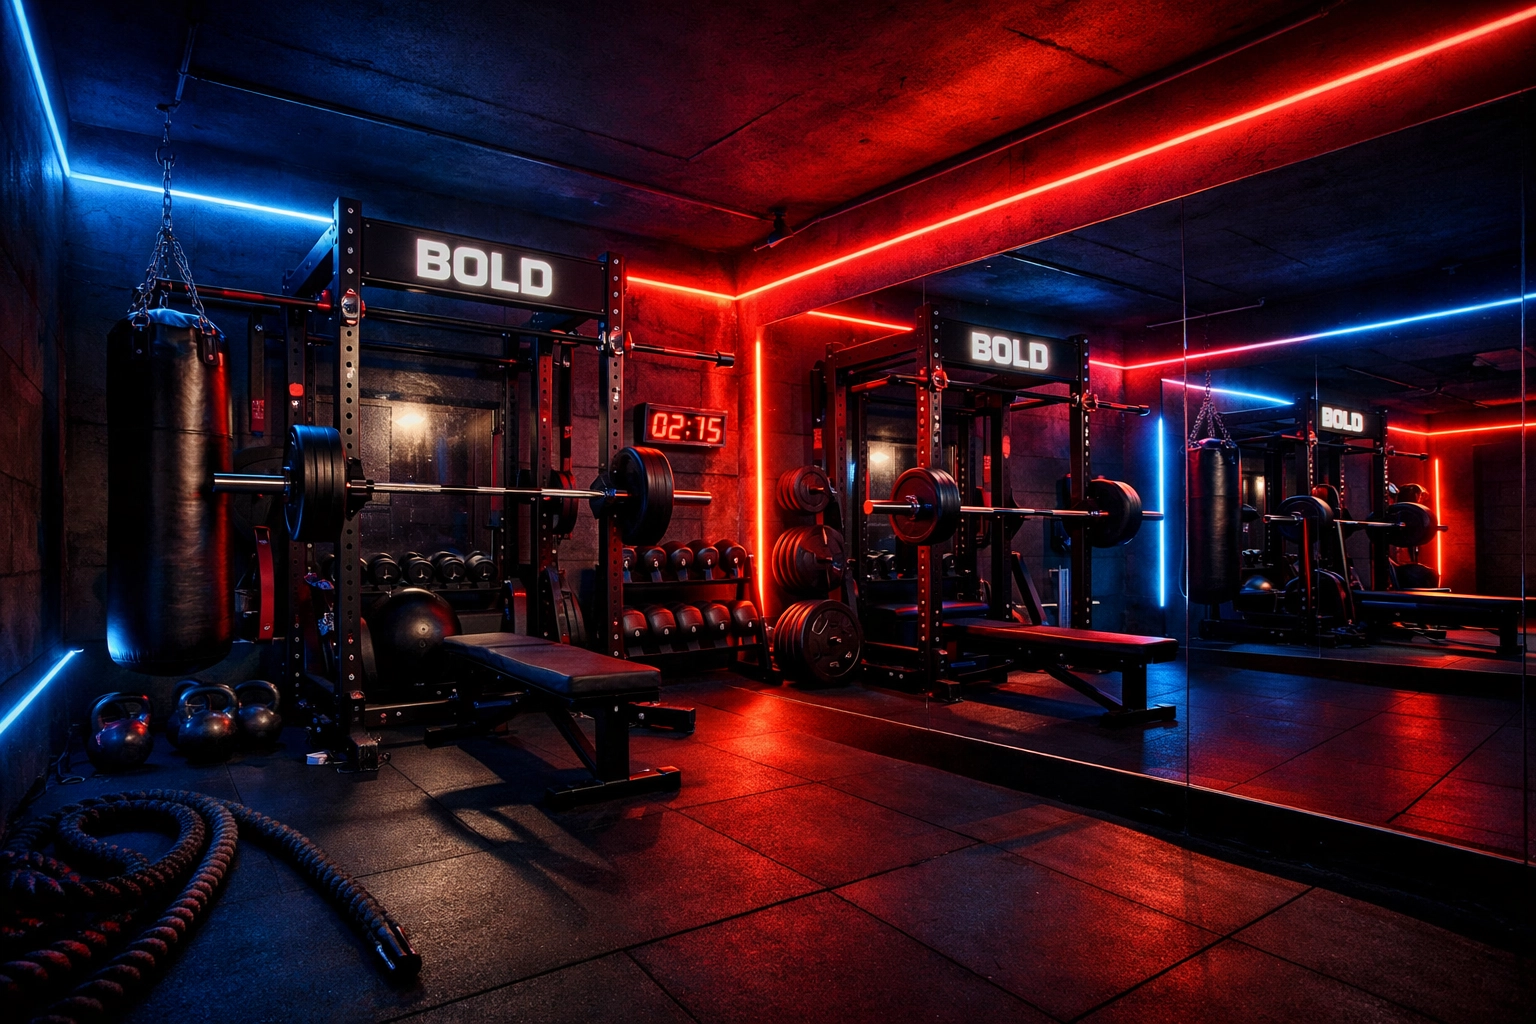
Don't laugh. If your home gym is a dark, dingy corner of the basement with one flickering fluorescent bulb, you aren't going to train there. Performance is psychological. You need a space that screams "Bold."
The Fix: Upgrade your lighting. Get some high-output LED shop lights or even some color-changing strips to set the mood for a heavy session. Put up a mirror, not for vanity, but for form checks. When you can see your lines during a handstand or the depth of your dips, you improve faster. A professional-looking home gym equipment setup deserves a professional environment.
7. Skipping the Stability Check
I see it on Instagram all the time: someone tries to do a dynamic movement on a flimsy "power tower" and the whole thing tips over. If your equipment moves when you move, you can’t fully commit to the exercise. Your brain will subconsciously hold you back from going 100% because it senses the instability.
The Fix: If it shakes, it’s garbage. You need equipment that feels like it’s part of the house. Whether it's a floor-to-ceiling tension bar or a properly weighted rack, stability is non-negotiable.
If you’re serious about your training, you can't afford to settle for "good enough." You need gear that matches your intensity.
Why the Resistance Rail is the Ultimate Fix
At Bold Body Fitness, we didn't want to build just another piece of equipment. We wanted to solve all seven of these mistakes in one shot.
The Resistance Rail is the world’s most versatile no wall damage workout system.
- No Drilling: It uses vertical tension, making it perfect for renters and homeowners alike.
- Floor to Ceiling: It utilizes the strongest parts of your home, the floor and the ceiling joists.
- Fully Adjustable: You can move your anchor points in seconds, making it a truly versatile home gym.
- Small Footprint: It takes up virtually zero floor space, leaving you room for your dynamic movements.
Stop Making Excuses, Start Making Gains
Your home is your castle, and your gym should be the throne room. Stop settling for subpar setups that hold you back. Whether you’re training for your next Spartan Race, mastering the planche, or just trying to stay in the best shape of your life, your equipment should be an asset, not a liability.
Fix these mistakes, invest in quality home gym equipment, and watch your progress explode.
Ready to level up? Check out our full lineup and join the Bold movement.
Explore Bold Body Fitness Gear Now
Summary Checklist for Your Home Calisthenics Setup:
- Height Check: Do you have at least 12 inches of head clearance above your pull-up bar?
- Surface Check: Is your flooring high-density rubber (at least 1/2 inch thick)?
- Versatility Check: Can you perform pull, push, and leg exercises in the same 6x6 area?
- Damage Check: Is your equipment going to cost you your security deposit? (If yes, switch to a tension-based system).
- Resistance Check: Do you have a way to add external load or band tension to your movements?
- Stability Check: Does your bar move when you perform an explosive repetition?
- Vibe Check: Is the space well-lit and motivating?
Don't let a bad setup be the reason you don't reach your goals. Get bold, get strong, and do it at home.
