

Look, pull-ups are the king of bodyweight training at home. They build a back that looks like a topographical map and grip strength that could crush walnuts. But here's the brutal truth: most people are screwing up their home pull-up bar setup in ways that are killing their gains, damaging their homes, or worse: risking serious injury.
Whether you're a ninja warrior in training, a CrossFit athlete building a crossfit home gym, or a calisthenics purist grinding out reps in your garage, these mistakes are costing you. Let's fix them.
Mistake #1: Choosing the Wrong Pull-Up Bar for Your Space
Not all pull-up bars are created equal, and slapping any old bar in your doorway is amateur hour.
Doorway pull-up bars are the most common choice because they're cheap and "easy." But they're also limited, unstable, and frankly, pretty pathetic if you're serious about resistance training. They wobble, they damage door frames, and they can't handle dynamic movements like muscle-ups or kipping pull-ups without threatening to tear your entire doorframe off the wall.
Wall-mounted bars are better for stability, but now you're drilling holes into your rental property or destroying the resale value of your home. Not ideal.
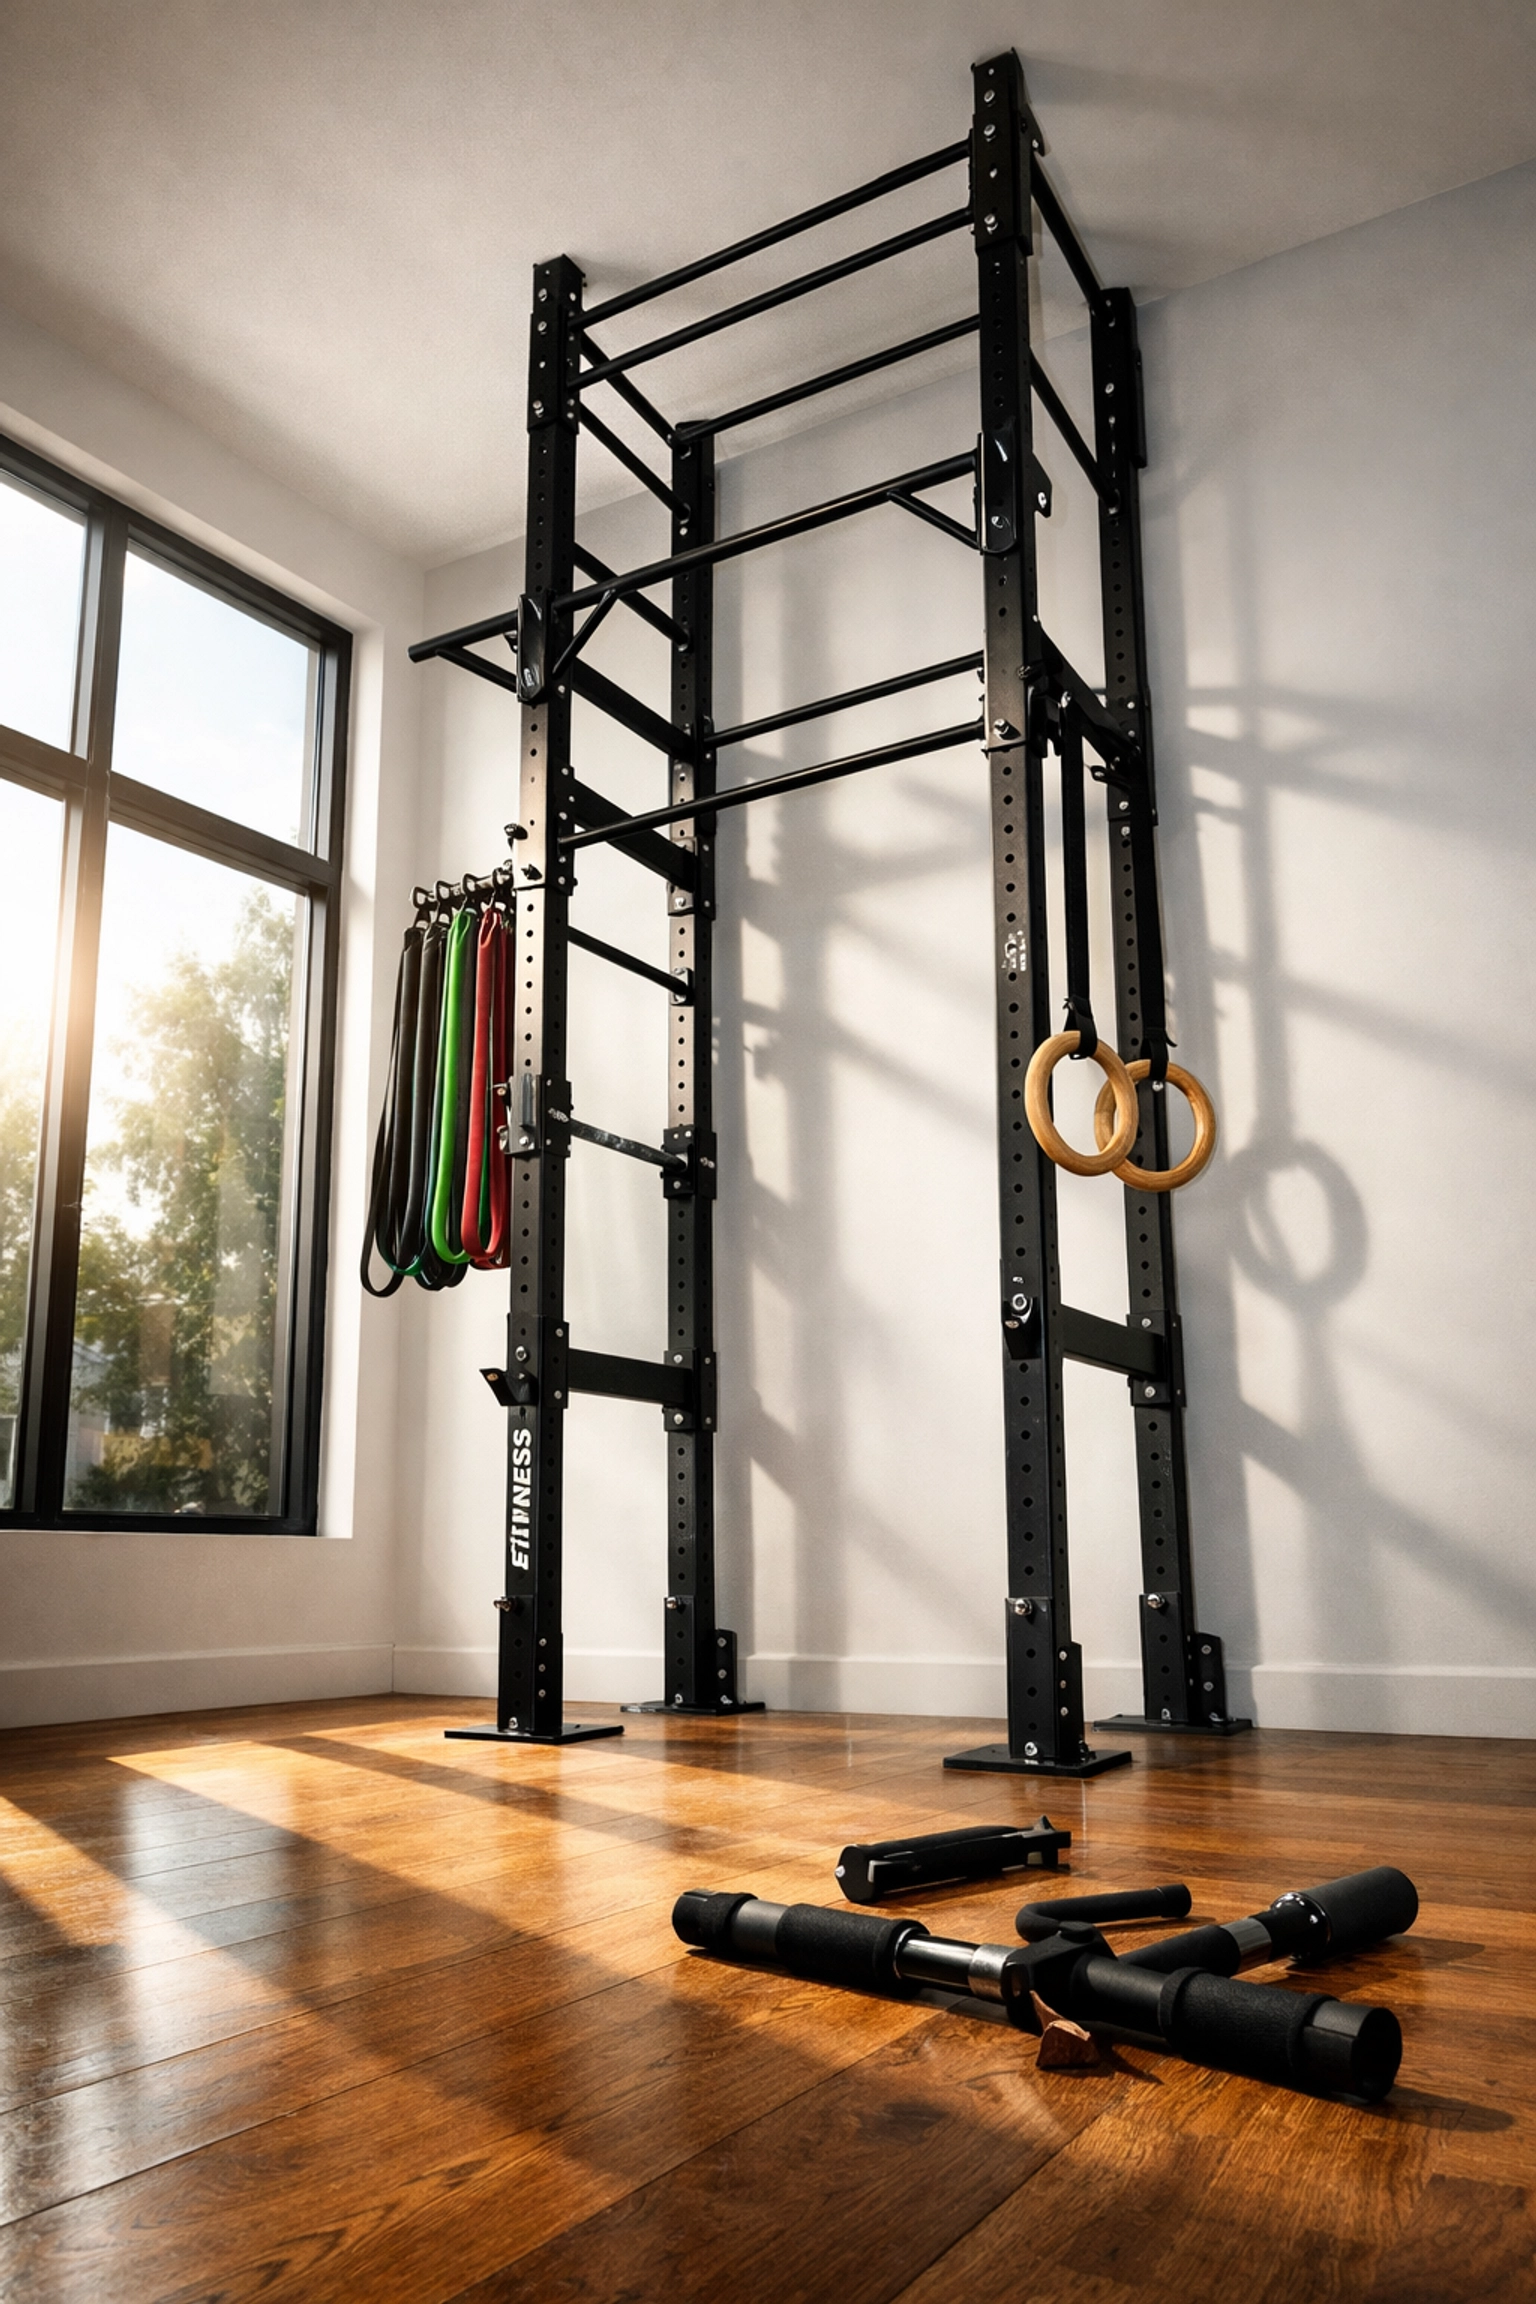
The Fix: Think beyond basic bars. Modern calisthenics equipment for home has evolved. Floor-to-ceiling systems like the Resistance Rail from Bold Body Fitness offer a no wall damage workout system that stays rock-solid without permanently altering your space. You get the stability of a wall-mounted bar with zero commitment: perfect for renters, apartment dwellers, or anyone who doesn't want their home looking like a climbing gym exploded inside it.
Mistake #2: Ignoring Weight Capacity and Safety Standards
This one's a recipe for disaster, literally.
That $20 pull-up bar from a random online seller? It probably has a weight capacity that's more "suggestion" than "specification." I've seen bars fail mid-rep, sending athletes crashing to the ground. Not fun. Even less fun when you're doing weighted pull-ups or explosive movements that multiply the force on the bar.
Most cheap doorway bars claim they hold 220-300 pounds, but they don't account for dynamic loading. When you're doing kipping pull-ups, muscle-ups, or swinging movements, you can generate 2-3 times your bodyweight in force. Do the math.
The Fix: Always check actual weight ratings and read reviews from serious athletes, not casual users. Better yet, invest in home gym equipment built for real training. Systems designed for CrossFit athletes, gymnasts, and MMA fighters are engineered for dynamic loads, not just static hanging. Check the specs, verify the materials, and don't gamble with your spine.
Mistake #3: Using Grip Width That Sabotages Your Gains
Here's where things get technical, but stay with me because this mistake is killing your lat development.
Most people grab the bar way too narrow. When your hands are closer than shoulder-width, you're turning pull-ups into a forearm and bicep exercise. Your lats: those wing-like muscles that actually make you look powerful: barely engage. You're working harder for less back development. Genius move, right?
On the flip side, going too wide shifts the work to your rear delts and teres major, which isn't bad, but it's not maximizing lat engagement either.
The Fix: For standard pull-ups, position your hands slightly wider than shoulder-width: about 1.5 times shoulder width. This puts your lats in the optimal position to do the heavy lifting. Want to hit different muscle groups? That's where having a versatile home gym setup pays off. Use multiple grip positions throughout your training week: close grip for arms, wide grip for rear delts, and that sweet spot for lats.
Pro tip: Gymnastic rings or a multi-grip bar gives you infinite positioning options. The Resistance Rail system lets you attach rings, bars, and other accessories at any height, turning one piece of equipment into an entire full body workout at home station.

Mistake #4: Half-Repping Your Way to Nowhere
Let's talk about range of motion, because I see this everywhere and it's embarrassing.
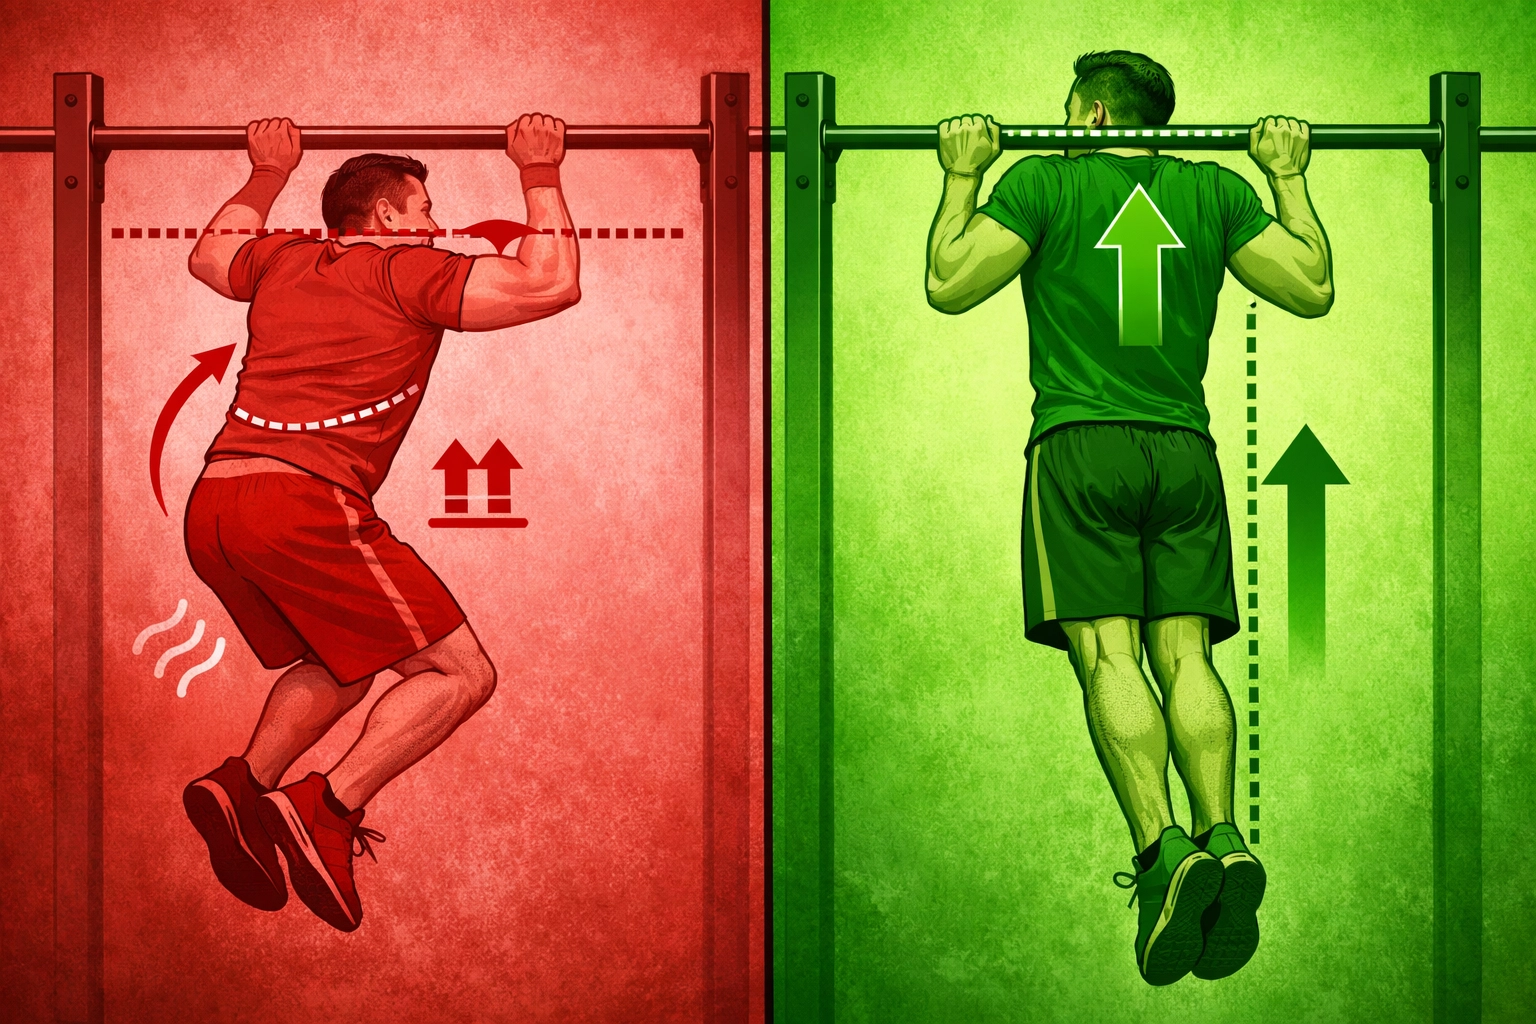
A proper pull-up starts with your arms fully extended: elbows locked, shoulders engaged but not shrugged. You pull until your chin clears the bar (or ideally, chest touches the bar), then you lower with control back to full extension. That's one rep.
What most people do: They start from a semi-bent position, pull up a few inches, never get their chin above the bar, and drop back down while their ego counts it as a rep. That's not training; that's motion without progress.
The Fix: Film yourself. Seriously. Set up your phone and record a set. You'll probably be horrified at what you see, but that awareness is step one. Then commit to full range of motion, even if it means dropping your rep count. Five real pull-ups beat twenty half-reps every single time.
Dead hang at the bottom. Pull your chest to the bar at the top. Control the descent. This builds actual strength, not imaginary numbers.
Mistake #5: Neglecting Body Position and Tension
Your pull-up isn't just about arms pulling your body up. It's a full-body movement that requires total-body tension.
The biggest error here is losing the hollow body position. When you arch your back excessively or let your legs swing around like wet noodles, you're leaking energy everywhere. You're also turning a vertical pull into more of a horizontal row, which changes the entire movement pattern and reduces its effectiveness.
Hunched shoulders are another killer. When you shrug your shoulders up to your ears, you lose leverage and put unnecessary strain on your neck and upper traps. Your shoulders should be packed down and back throughout the movement.
The Fix: Before you even start pulling, establish full-body tension. Point your toes, squeeze your glutes, brace your core, and maintain a slight hollow position (think: subtle banana shape). Keep your shoulders depressed and scapula engaged. This creates a solid foundation for force transfer.
Practice hollow body holds on the ground if you need to build that awareness. For serious athletes doing high-volume resistance training at home, this position becomes second nature, but you've got to drill it consciously first.
Mistake #6: Doing the Same Damn Thing Every Session
Variety isn't just the spice of life: it's the secret to continuous progress in bodyweight training at home.
Most people find one pull-up variation they can do (usually the easiest one) and hammer it session after session, week after week. Then they wonder why they plateau. Your body adapts to repeated stimuli. If you're always doing the same grip, same tempo, same everything, your gains will stall faster than a manual transmission in the hands of a teenager.
The Fix: Rotate your pull-up variations like you rotate your Netflix queue. Mix in:
- Wide grip pull-ups for back width
- Close grip chin-ups for biceps and lat thickness
- Neutral grip pull-ups for forearms and reduced shoulder stress
- Archer pull-ups for unilateral strength
- L-sit pull-ups for core integration
- Tempo pull-ups (slow eccentric) for time under tension
- Weighted pull-ups for progressive overload
This is where having a pull up bar alternative or versatile system like the Resistance Rail really shines. You can attach different grips, rings, or resistance bands at various heights to create endless variations without buying seven different pieces of equipment.
Mistake #7: Setting Up in a Space That Limits Your Training
Here's the mistake nobody talks about: putting your pull-up bar somewhere that restricts what you can actually do.
You mounted that bar in a doorway with seven-foot ceilings. Great. Now you can do pull-ups... and that's it. Want to do hanging leg raises? Your feet hit the ground. Want to practice muscle-ups? You'll need a helmet because you're hitting the ceiling. Want to use it for resistance band work or suspension training? Forget it.
Your training space dictates your training options. A poorly positioned pull-up bar is a cage you didn't realize you were building.
The Fix: Think systems, not single pieces of equipment. A floor to ceiling gym setup gives you vertical space to work with. You can do toes-to-bar, skin-the-cats, rope climbs, and dynamic movements without spatial restrictions.
The Resistance Rail is engineered specifically for this. It mounts floor to ceiling with tension (no drilling), provides attachment points at multiple heights, and creates a full training ecosystem in a small footprint. Whether you're practicing for ninja warrior competitions or just trying to get brutally strong at home, having vertical real estate changes everything.

The Bottom Line
Pull-ups are non-negotiable for anyone serious about upper body strength. But doing them wrong: whether through poor equipment choices, bad form, or limited training variety: is worse than not doing them at all. You're building bad patterns, risking injury, and leaving gains on the table.
Fix these seven mistakes and you'll transform your home gym equipment setup from mediocre to elite. You'll build more muscle, prevent injury, and actually enjoy your training instead of fighting with unstable bars and cramped spaces.
Whether you're outfitting a crossfit home gym, building a calisthenics training area, or just want to get stronger without leaving your house, the principles are the same: invest in quality equipment, nail your form, vary your training, and give yourself space to grow.
Ready to upgrade your setup? Check out the full range of training solutions at the Bold Body Fitness shop and stop making excuses for mediocre equipment.
Your future jacked self will thank you.