
Look, you don't need a fancy gym membership to build serious strength. Some of the most impressive physiques on the planet have been built using nothing but bodyweight movements and a few key pieces of equipment. The beauty of calisthenics? You can do it anywhere, including your living room, garage, or backyard.
But here's the thing: while you can train with zero equipment, having the right tools in your home gym setup will unlock movements and progressions that are simply impossible with floor exercises alone. We're talking pull-ups, dips, muscle-ups, levers, and all the advanced skills that separate casual fitness enthusiasts from true bodyweight athletes.
Let's break down exactly what you need to build a killer calisthenics setup at home, without breaking the bank or turning your space into a cluttered mess.
Why Home Calisthenics Training Just Makes Sense
Before we dive into the gear, let's talk about why training at home is a game-changer for calisthenics athletes:
- Zero commute time – Your gym is 10 steps away
- Train on your schedule – 6 AM or midnight, doesn't matter
- No waiting for equipment – Every piece is yours
- Consistent environment – Same setup, same conditions, better tracking
- Long-term savings – One-time investment vs. endless monthly fees
The initial investment in quality equipment pays for itself within months. And unlike that gym membership you keep meaning to cancel, your home setup will still be there in five years.
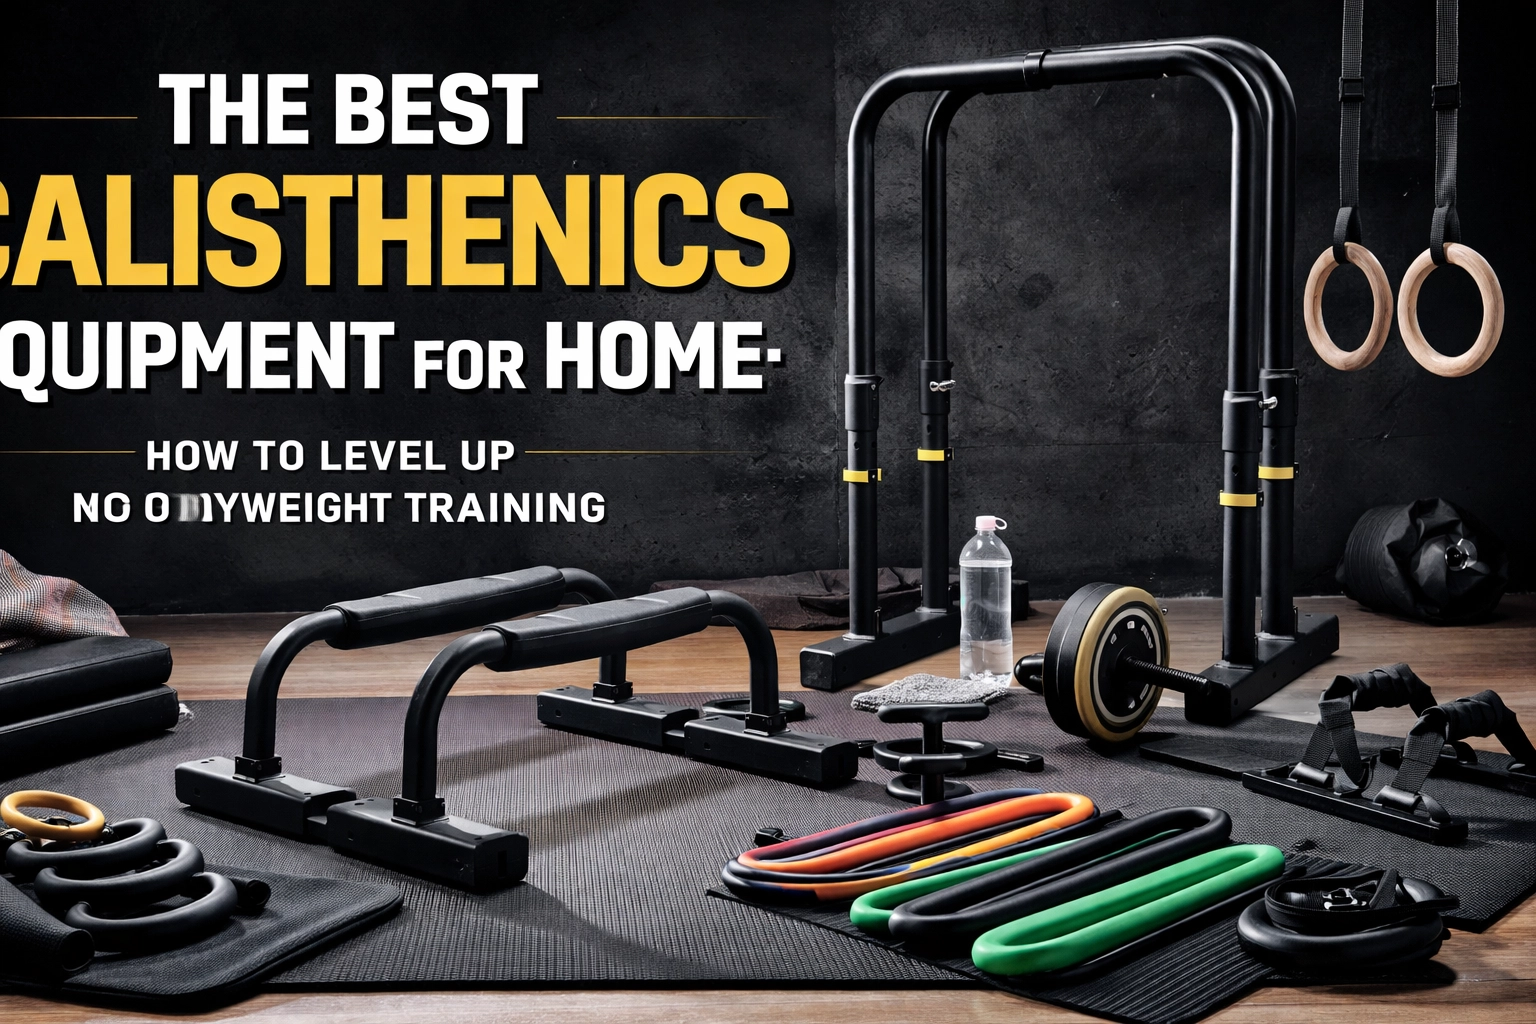
The Essential Calisthenics Equipment Tier List
Not all equipment is created equal. Here's how we'd rank the essentials based on versatility, bang-for-your-buck, and how much they'll actually transform your training.
Tier 1: The Non-Negotiables
Pull-Up Bar
This is ground zero for calisthenics. A solid pull-up bar opens up an entire world of back, bicep, and core exercises that you simply can't replicate any other way. We're talking pull-ups, chin-ups, hanging leg raises, front lever progressions, and more.
You've got options here:
- Door frame pull-up bars – Cheap, quick to install, perfect for beginners
- Wall-mounted bars – More stable, handles heavier loads
- Freestanding pull-up stations – Maximum stability, no installation required
Pro tip: If you're working on the "grease the groove" method, doing frequent pull-up attempts throughout the day, a door frame bar in a high-traffic area of your home is clutch. Every time you walk past it, bang out a few reps.
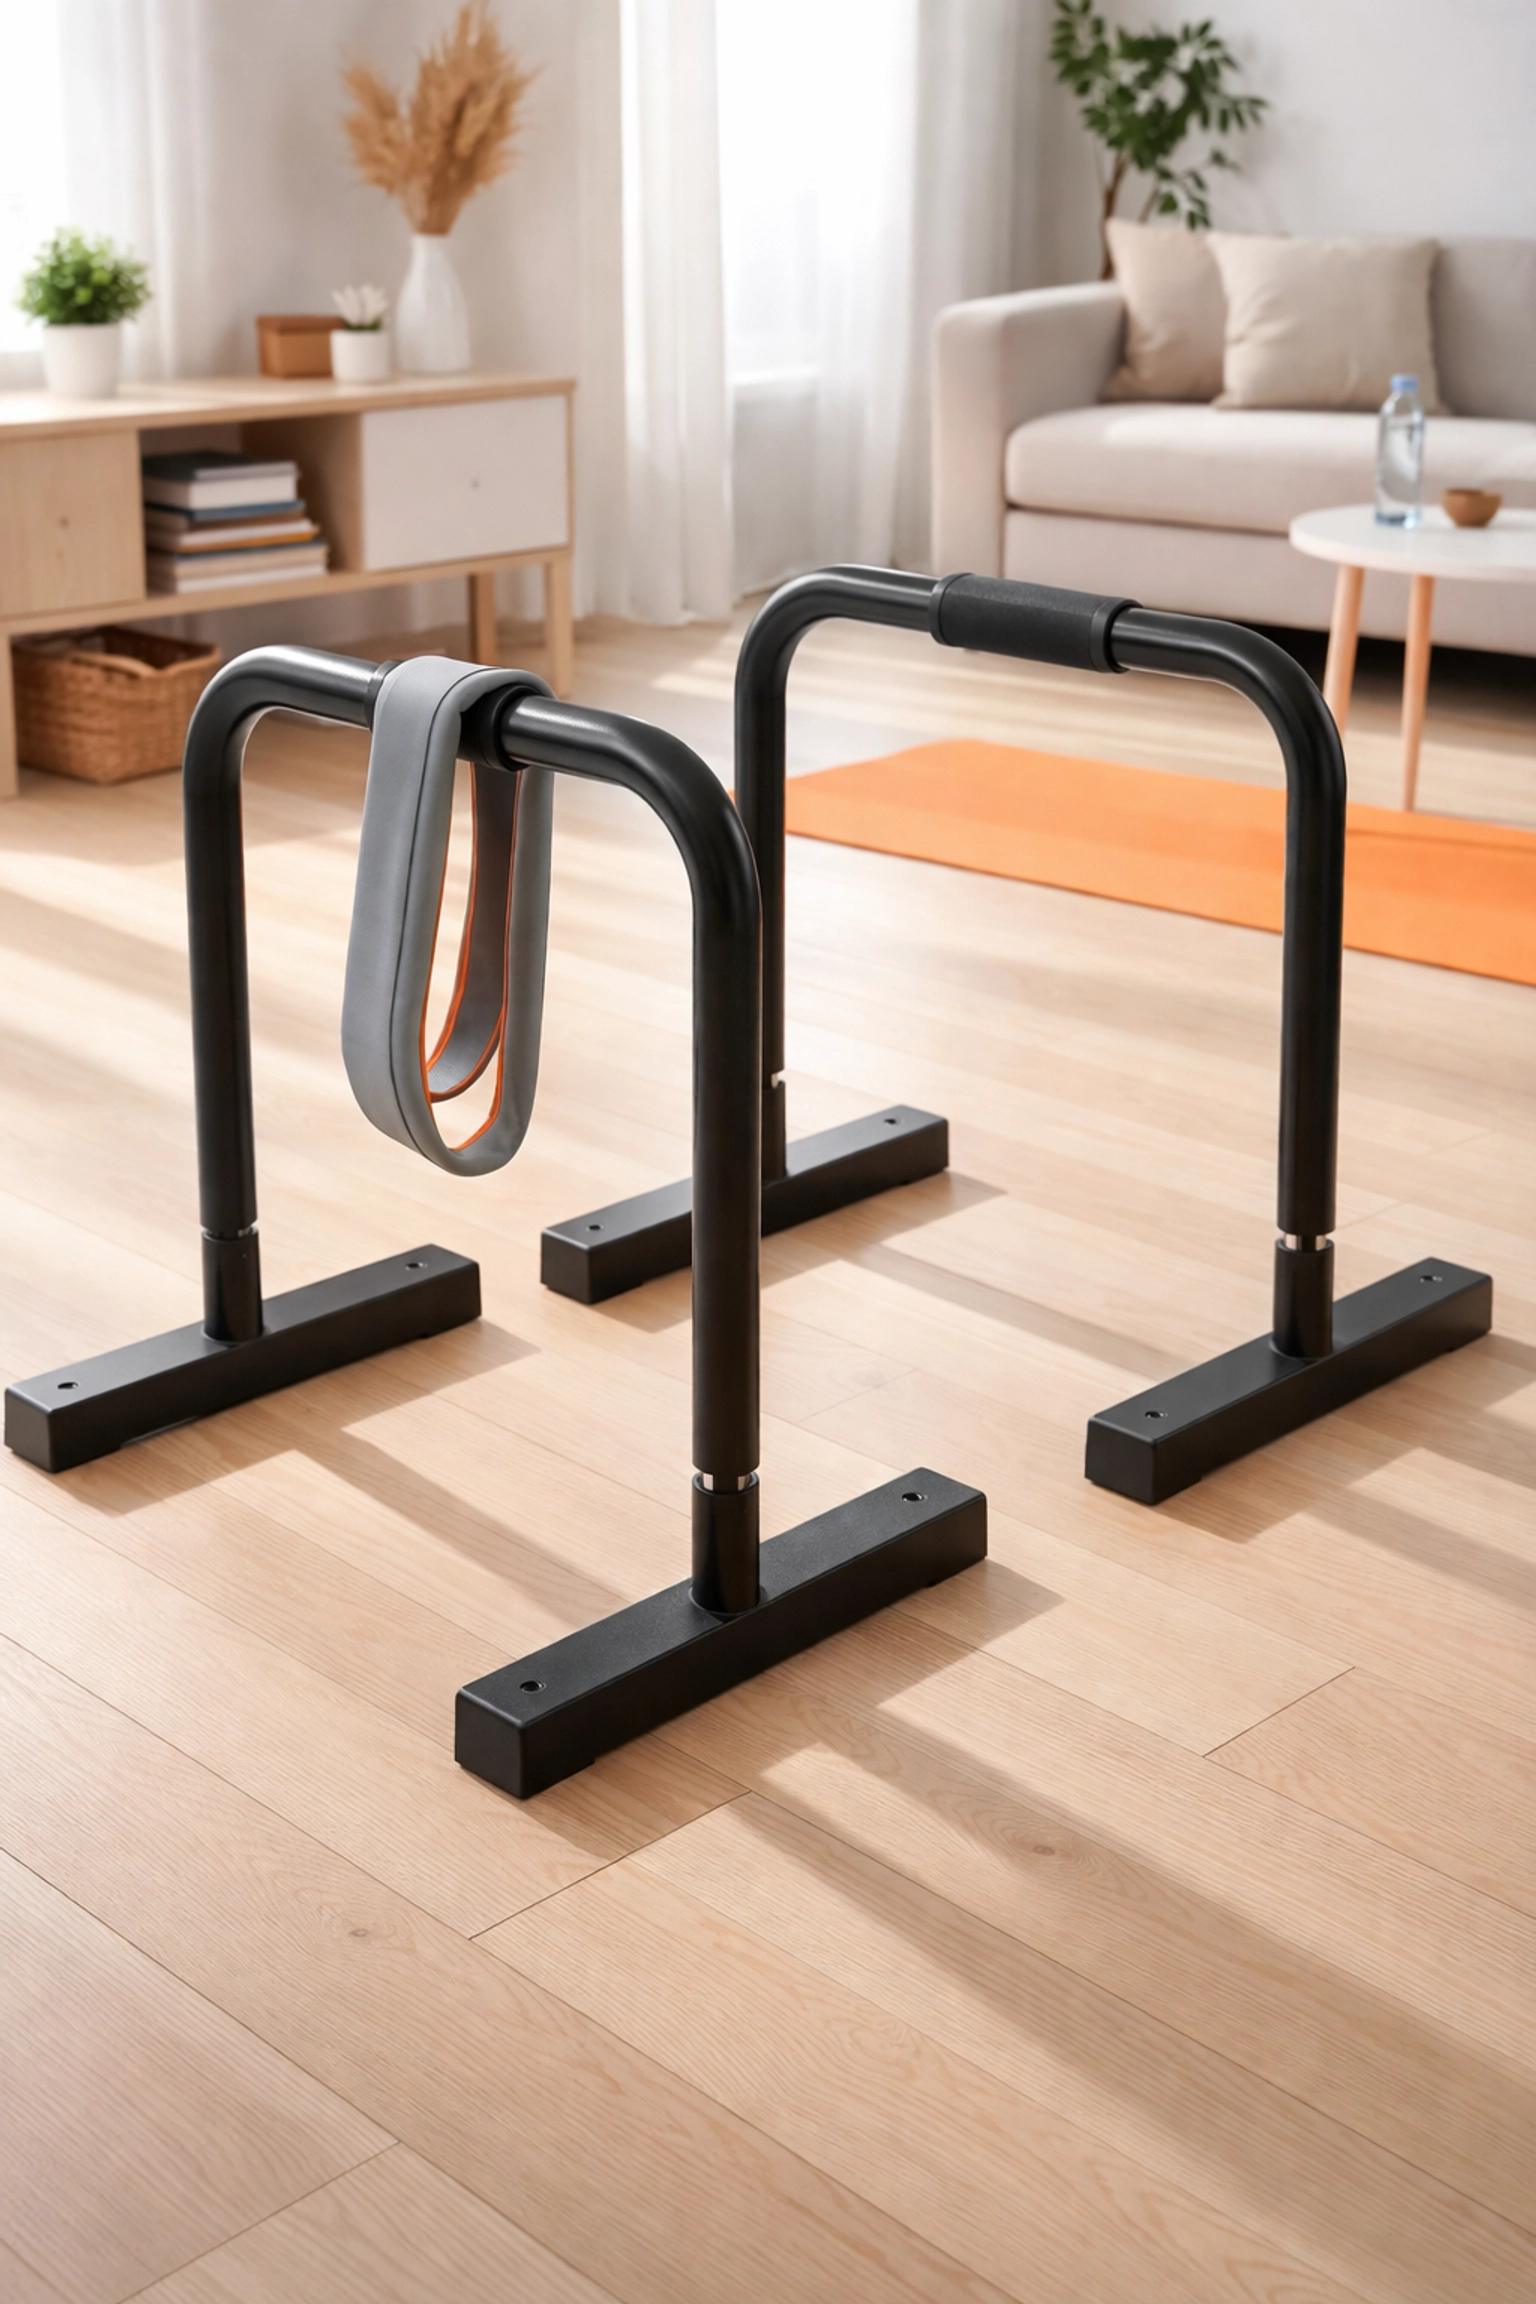
Dip Bars
Dip bars are stupidly versatile. Yeah, they're named after dips, but that's just scratching the surface. You can hit push muscles, pull muscles, core work, and even leg exercises. Plus, they're your gateway to advanced skills like L-sits, planches, and front levers.
Look for independent bars rather than a fixed station: they give you way more exercise variety and are easier to store when you need the space.
Tier 2: The Game Changers
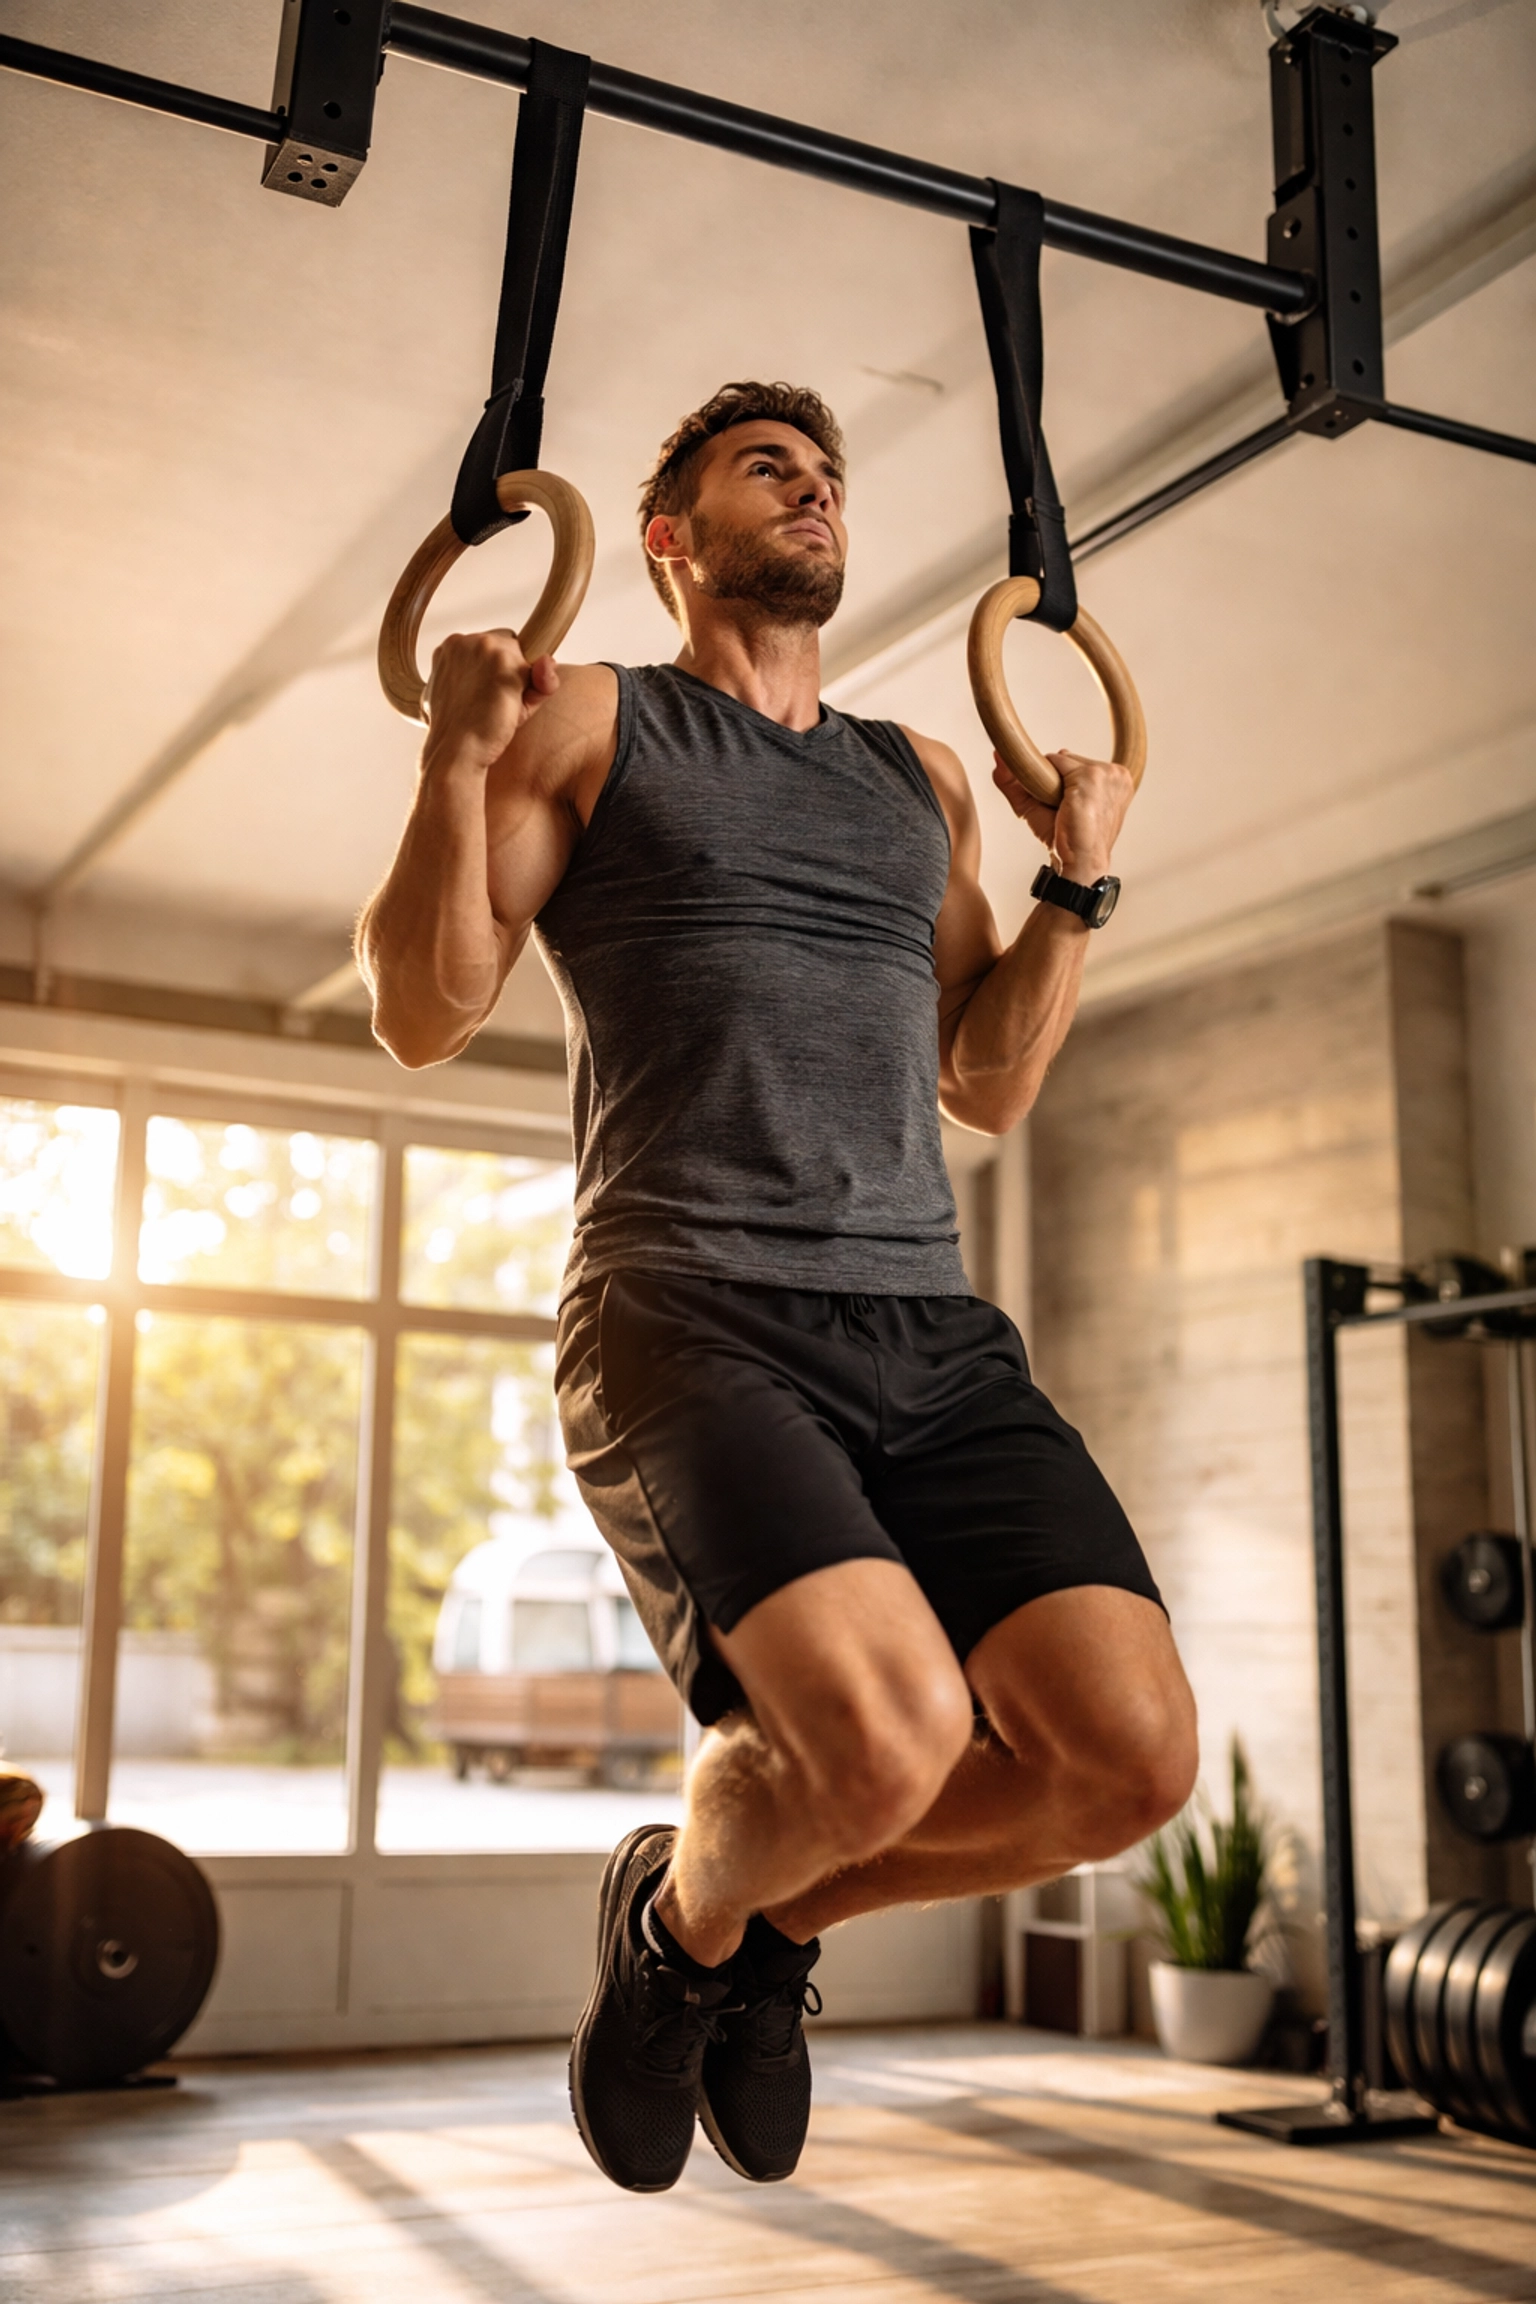
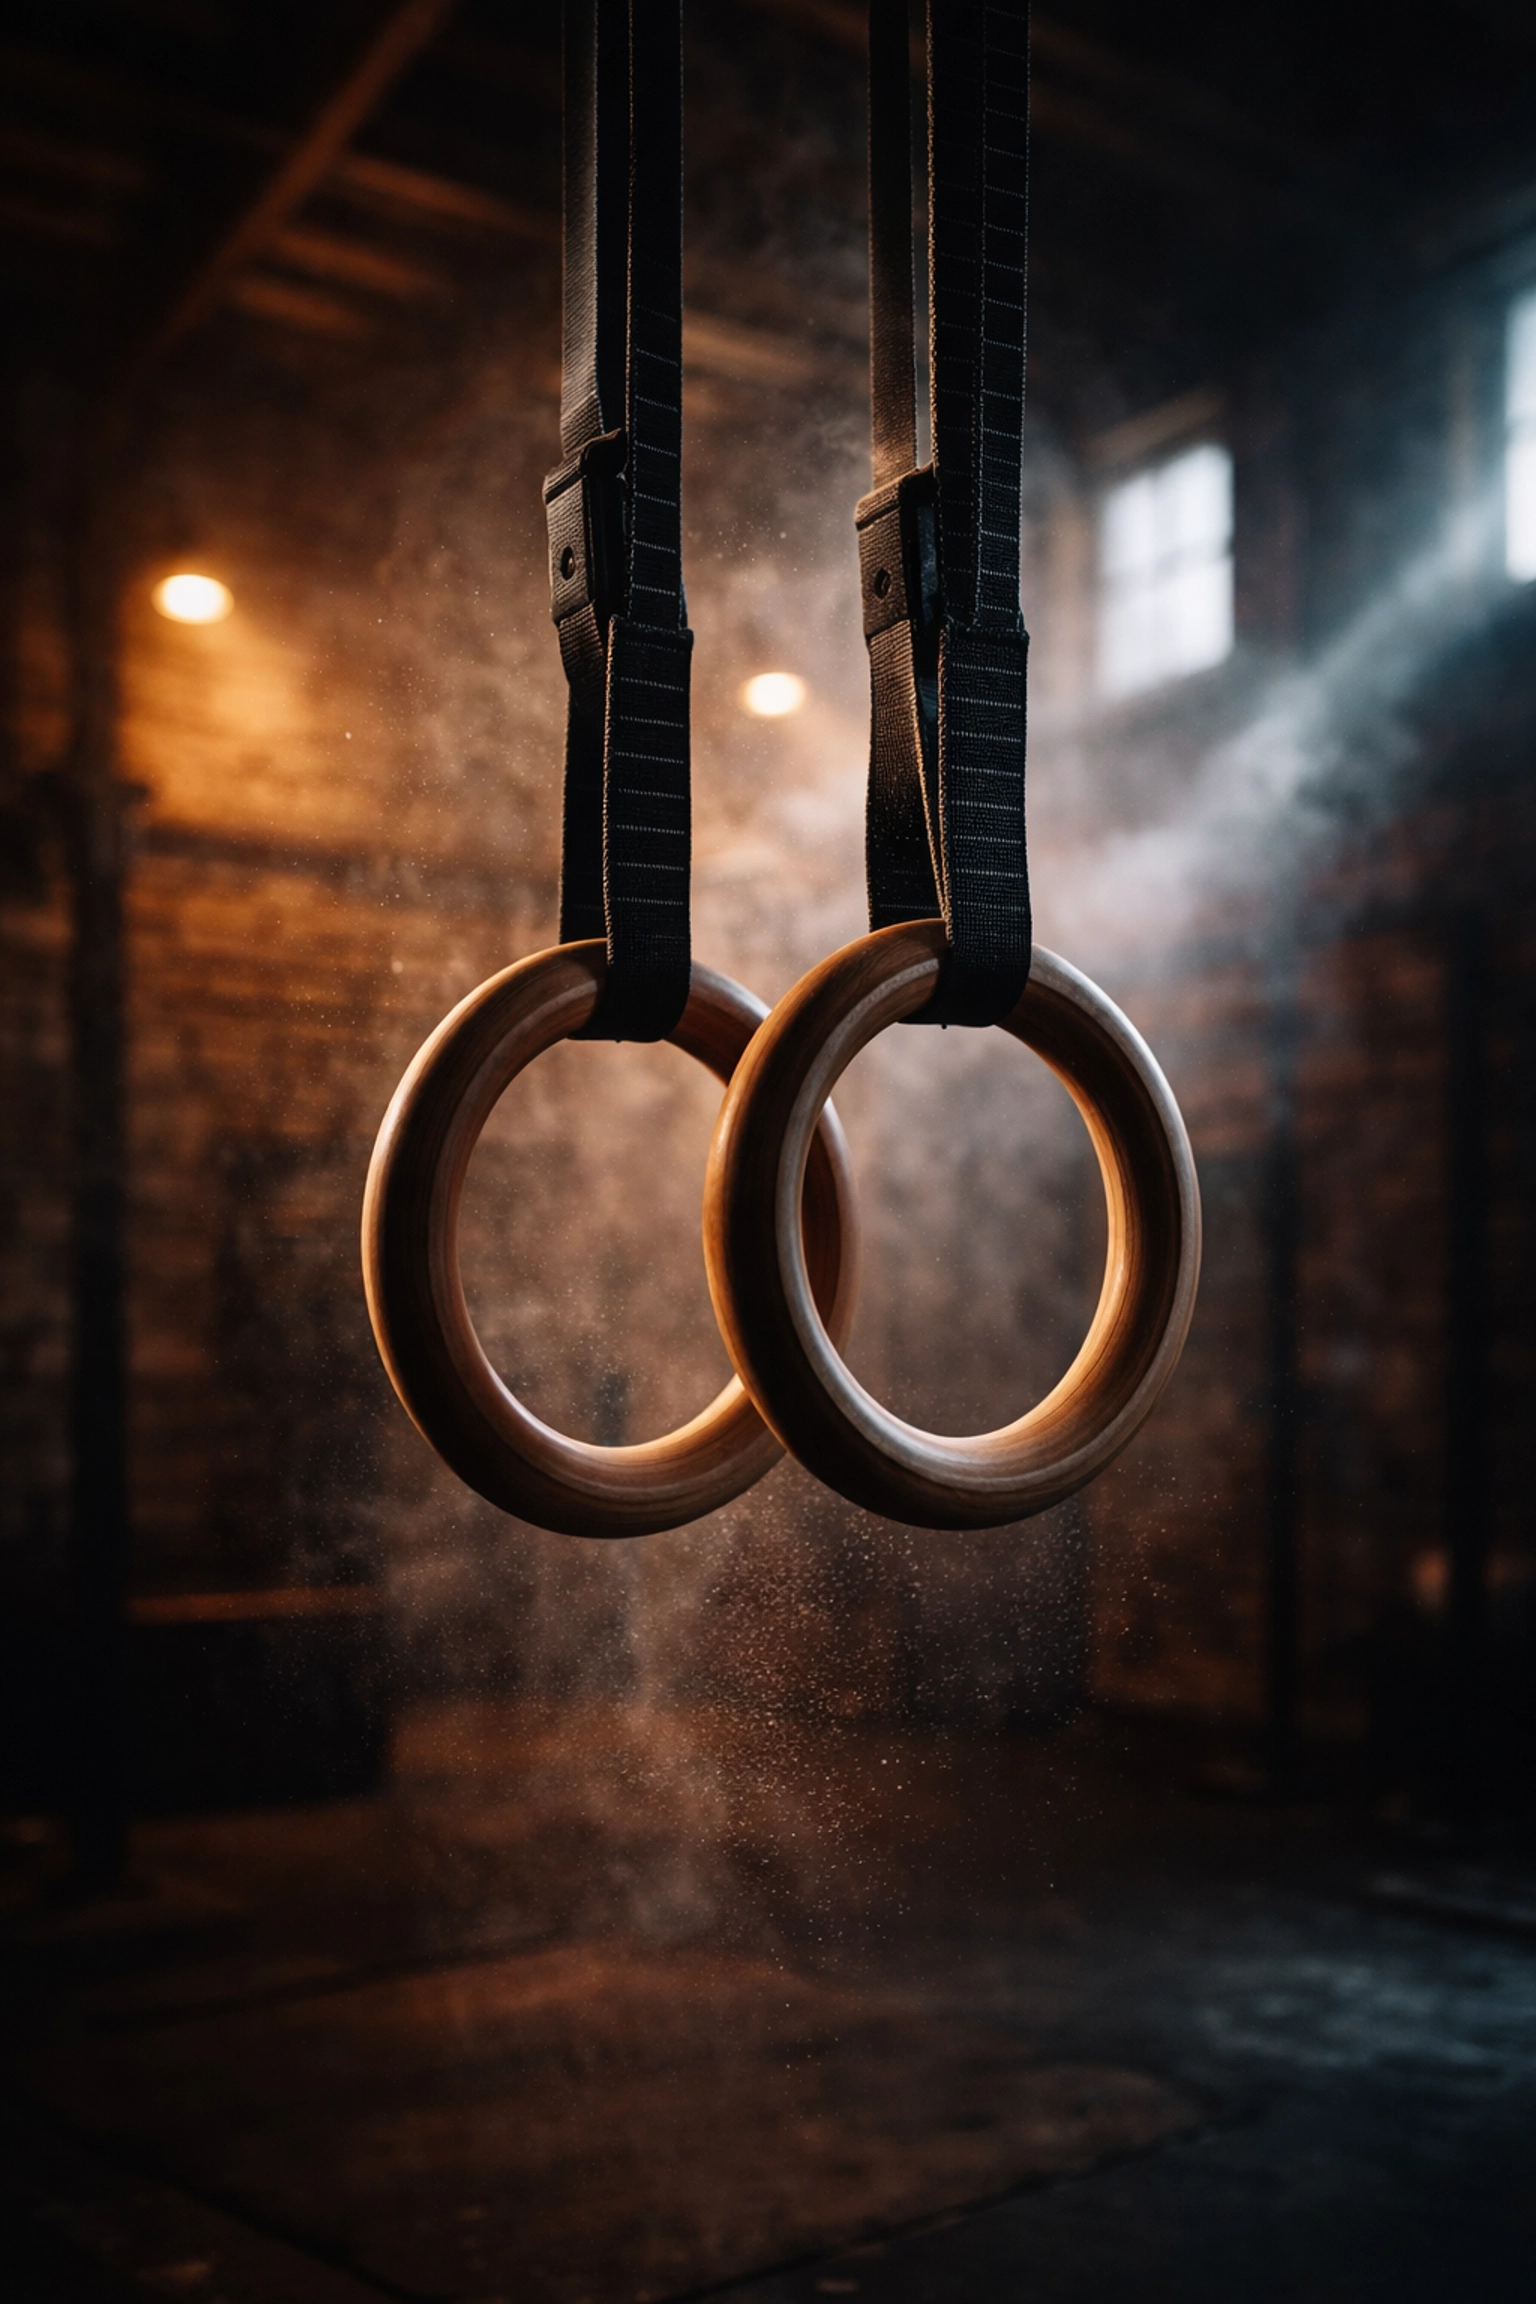
Gymnastic Rings
Ask any serious calisthenics athlete what their favorite piece of equipment is, and rings will come up constantly. There's a reason gymnasts have some of the most impressive upper body development in all of sports.
Rings add instability to every movement, which forces your stabilizer muscles to work overtime. A ring push-up hits different than a floor push-up. A ring dip is a whole other animal compared to parallel bar dips.
What you can do with rings:
- Pull-ups and chin-ups
- Ring dips
- Ring push-ups
- Muscle-ups
- Inverted rows
- Iron cross progressions (for the ambitious)
Mount them from a ceiling beam, a sturdy tree branch, or a freestanding pull-up station. Just make sure whatever you're hanging them from can handle your bodyweight plus some extra force from dynamic movements.
Parallettes
These low bars might look simple, but they're essential for building straight-arm strength and pressing power. Parallettes come in three main sizes:
- Mini parallettes – Best for push-ups and some handstand work
- Medium parallettes – The sweet spot for most athletes, offering the widest exercise variety
- Low parallettes – Great for L-sits and planche progressions
Medium parallettes are usually the move for most home gym setups. They're perfect for L-sits, pike push-ups, handstand practice, and working toward that elusive planche.
Supporting Equipment That Makes a Difference
The big four (pull-up bar, dip bars, rings, parallettes) will cover 90% of your training needs. But these additions can take your sessions to the next level.
Resistance Bands
Don't sleep on bands. They're incredibly portable, cheap, and versatile. Use them to:
- Assist with pull-ups while you build strength
- Add resistance to push-ups and squats
- Warm up and activate muscles before training
- Stretch and improve mobility post-workout
At Bold Body Fitness, we're huge fans of combining resistance tools with bodyweight training. Our Resistance Rail Standard and Resistance Rail Deluxe are designed specifically for athletes who want to blend band work with calisthenics movements.
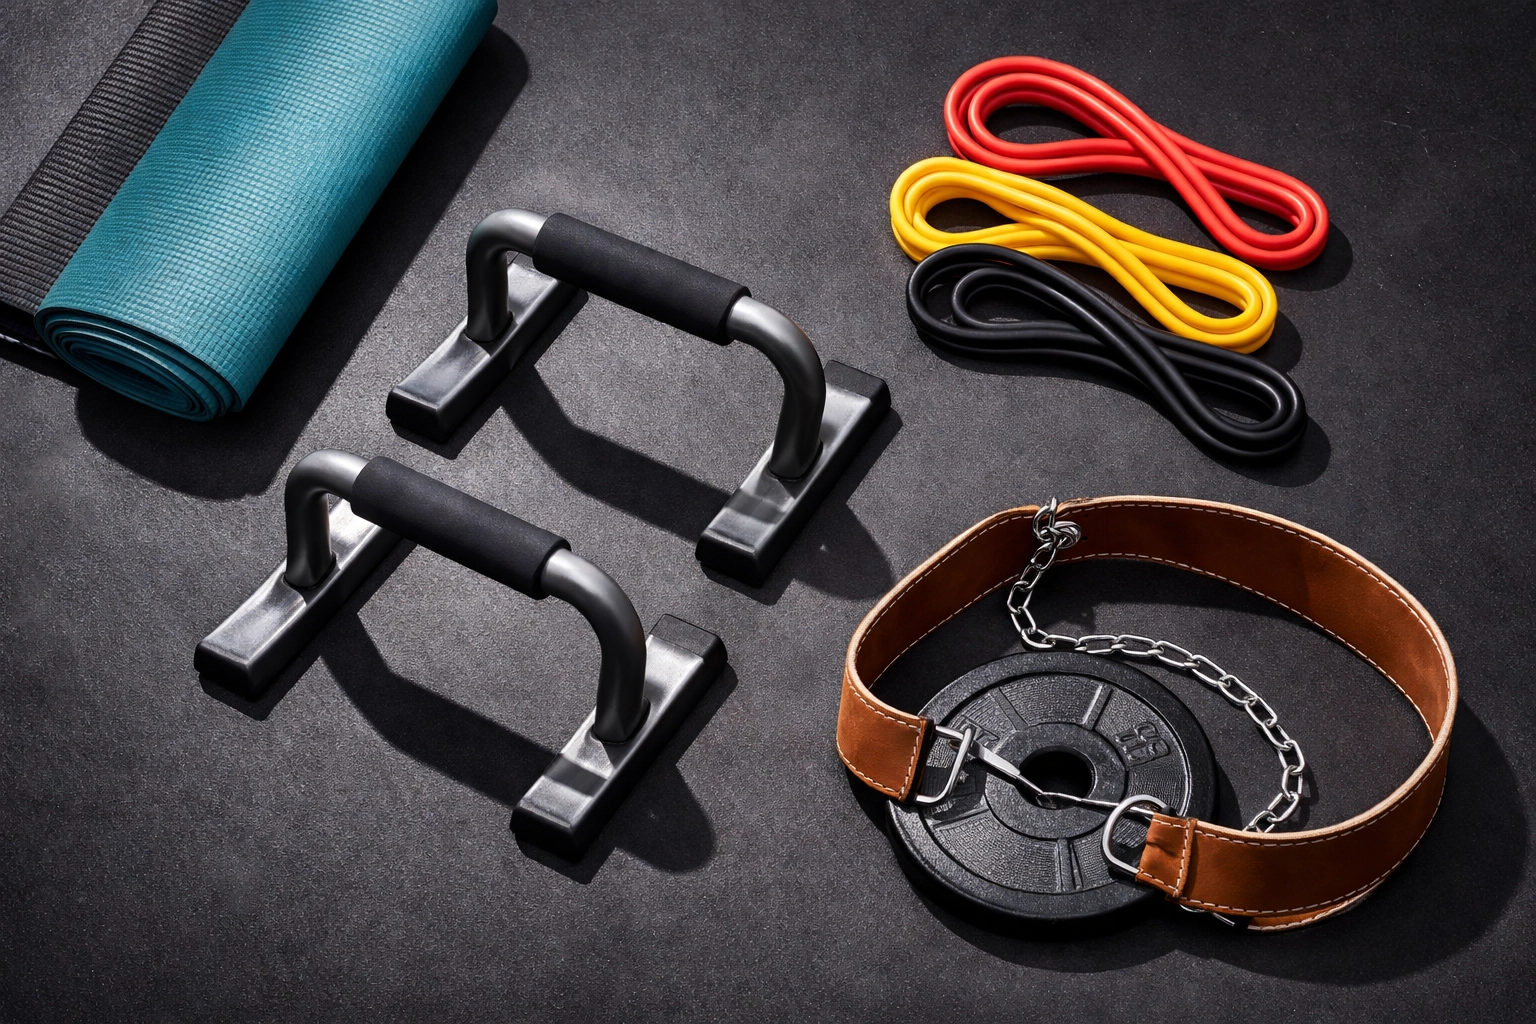
Exercise Mat
A quality mat protects your floor and makes ground-based movements way more comfortable. Think core work, stretching, handstand practice, and any exercise where your knees or elbows contact the ground. Nothing fancy required: just something with decent cushion and grip.
Dip Belt
Once bodyweight dips and pull-ups become easy (and they will), you'll want to add external resistance. A dip belt lets you hang weight plates from your waist, turning your bodyweight exercises into serious strength builders.
This is how you keep progressing when 20+ rep sets of pull-ups become your warm-up.
Building Your Home Gym on a Budget
Not everyone can drop $500+ on equipment all at once. Here's how to build your setup strategically:
Phase 1 (Under $100):
Start with dip bars and a set of resistance bands. This combo gives you pushing, pulling (with band-assisted or inverted rows), and core work covered. You can get surprisingly far with just these two pieces.
Phase 2 (Add $50-100):
Add a pull-up bar. Now you've got proper vertical pulling covered, which is essential for back development and upper body balance.
Phase 3 (Add $50-75):
Bring in gymnastic rings. Mount them from your pull-up bar or a ceiling beam. This unlocks a whole new dimension of training.
Phase 4 (Add $40-60):
Grab a set of medium parallettes for straight-arm strength work and handstand practice.
By the end, you've got a complete calisthenics gym for roughly the cost of 6-8 months of commercial gym membership. And it's yours forever.
Space Considerations
One of the best things about calisthenics equipment? Most of it has a tiny footprint. Here's how to make it work in small spaces:
- Door frame pull-up bars require zero permanent installation
- Rings can be taken down and stored in a drawer when not in use
- Parallettes slide under a bed or couch
- Dip bars often fold flat for storage
Even in a small apartment, you can have a complete setup that takes up virtually no space when you're not training.
Ready to Build Your Setup?
The path to a strong, capable body doesn't require complicated machines or monthly fees. With the right calisthenics equipment, your home becomes the ultimate training facility.
Start with what fits your budget, focus on mastering the basics, and add equipment as your skills progress. The best home gym is the one you'll actually use: so keep it simple, keep it functional, and get after it.
Check out our shop for equipment designed specifically for bodyweight athletes, or dive deeper into training strategies with our guide on bodyweight training at home.
Now stop reading and go do some pull-ups.