
Look, if you're serious about calisthenics: and I mean actually serious, not just doing YouTube beginner routines: you've probably hit the same wall every athlete hits: you need elite-grade equipment, but you can't drill holes in your apartment, garage, or rental property.
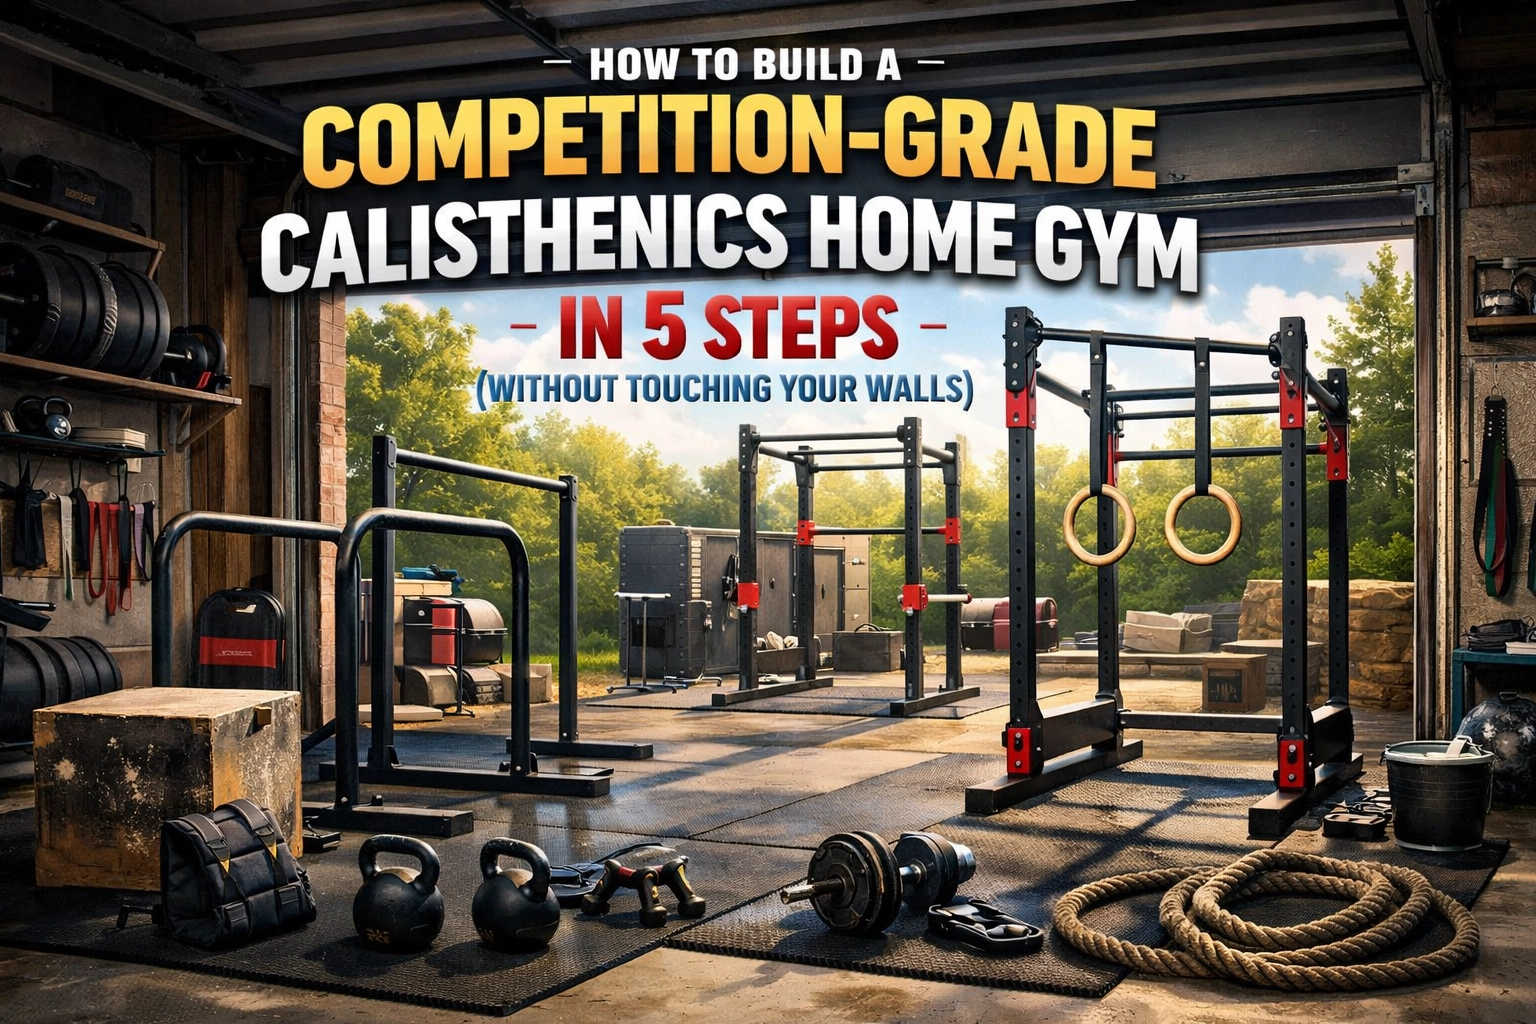
Competitive gymnasts, ninja warriors, CrossFit athletes, and MMA fighters don't mess around with shaky doorway pull-up bars or wobbly stands that tip over mid-muscle-up. You need a competition-grade calisthenics home gym that can handle explosive movements, weighted progressions, and the kind of training volume that separates hobbyists from athletes.
The good news? You can build a world-class setup without drilling a single hole, driving a single screw into drywall, or losing your security deposit. Here's exactly how to do it in five steps.
Step 1: Establish Your Vertical Anchor Point (The Foundation of Everything)
Every serious calisthenics gym starts with one non-negotiable: a rock-solid vertical anchor for pull-ups, muscle-ups, hanging leg raises, and ring work. This is your foundation. Get this wrong, and everything else falls apart, literally.
Traditional options suck for renters and people who train hard:
- Doorway bars max out around 250-300 lbs and can't handle kipping or explosive movements
- Wall-mounted rigs require permanent installation and destroy drywall
- Freestanding towers take up 6-8 feet of floor space and still wobble under dynamic load
Enter the floor-to-ceiling solution: systems like the Resistance Rail use tension-based engineering to create an immovable vertical anchor between your floor and ceiling. Zero drilling. Zero wall damage. Just pure, competition-grade stability.
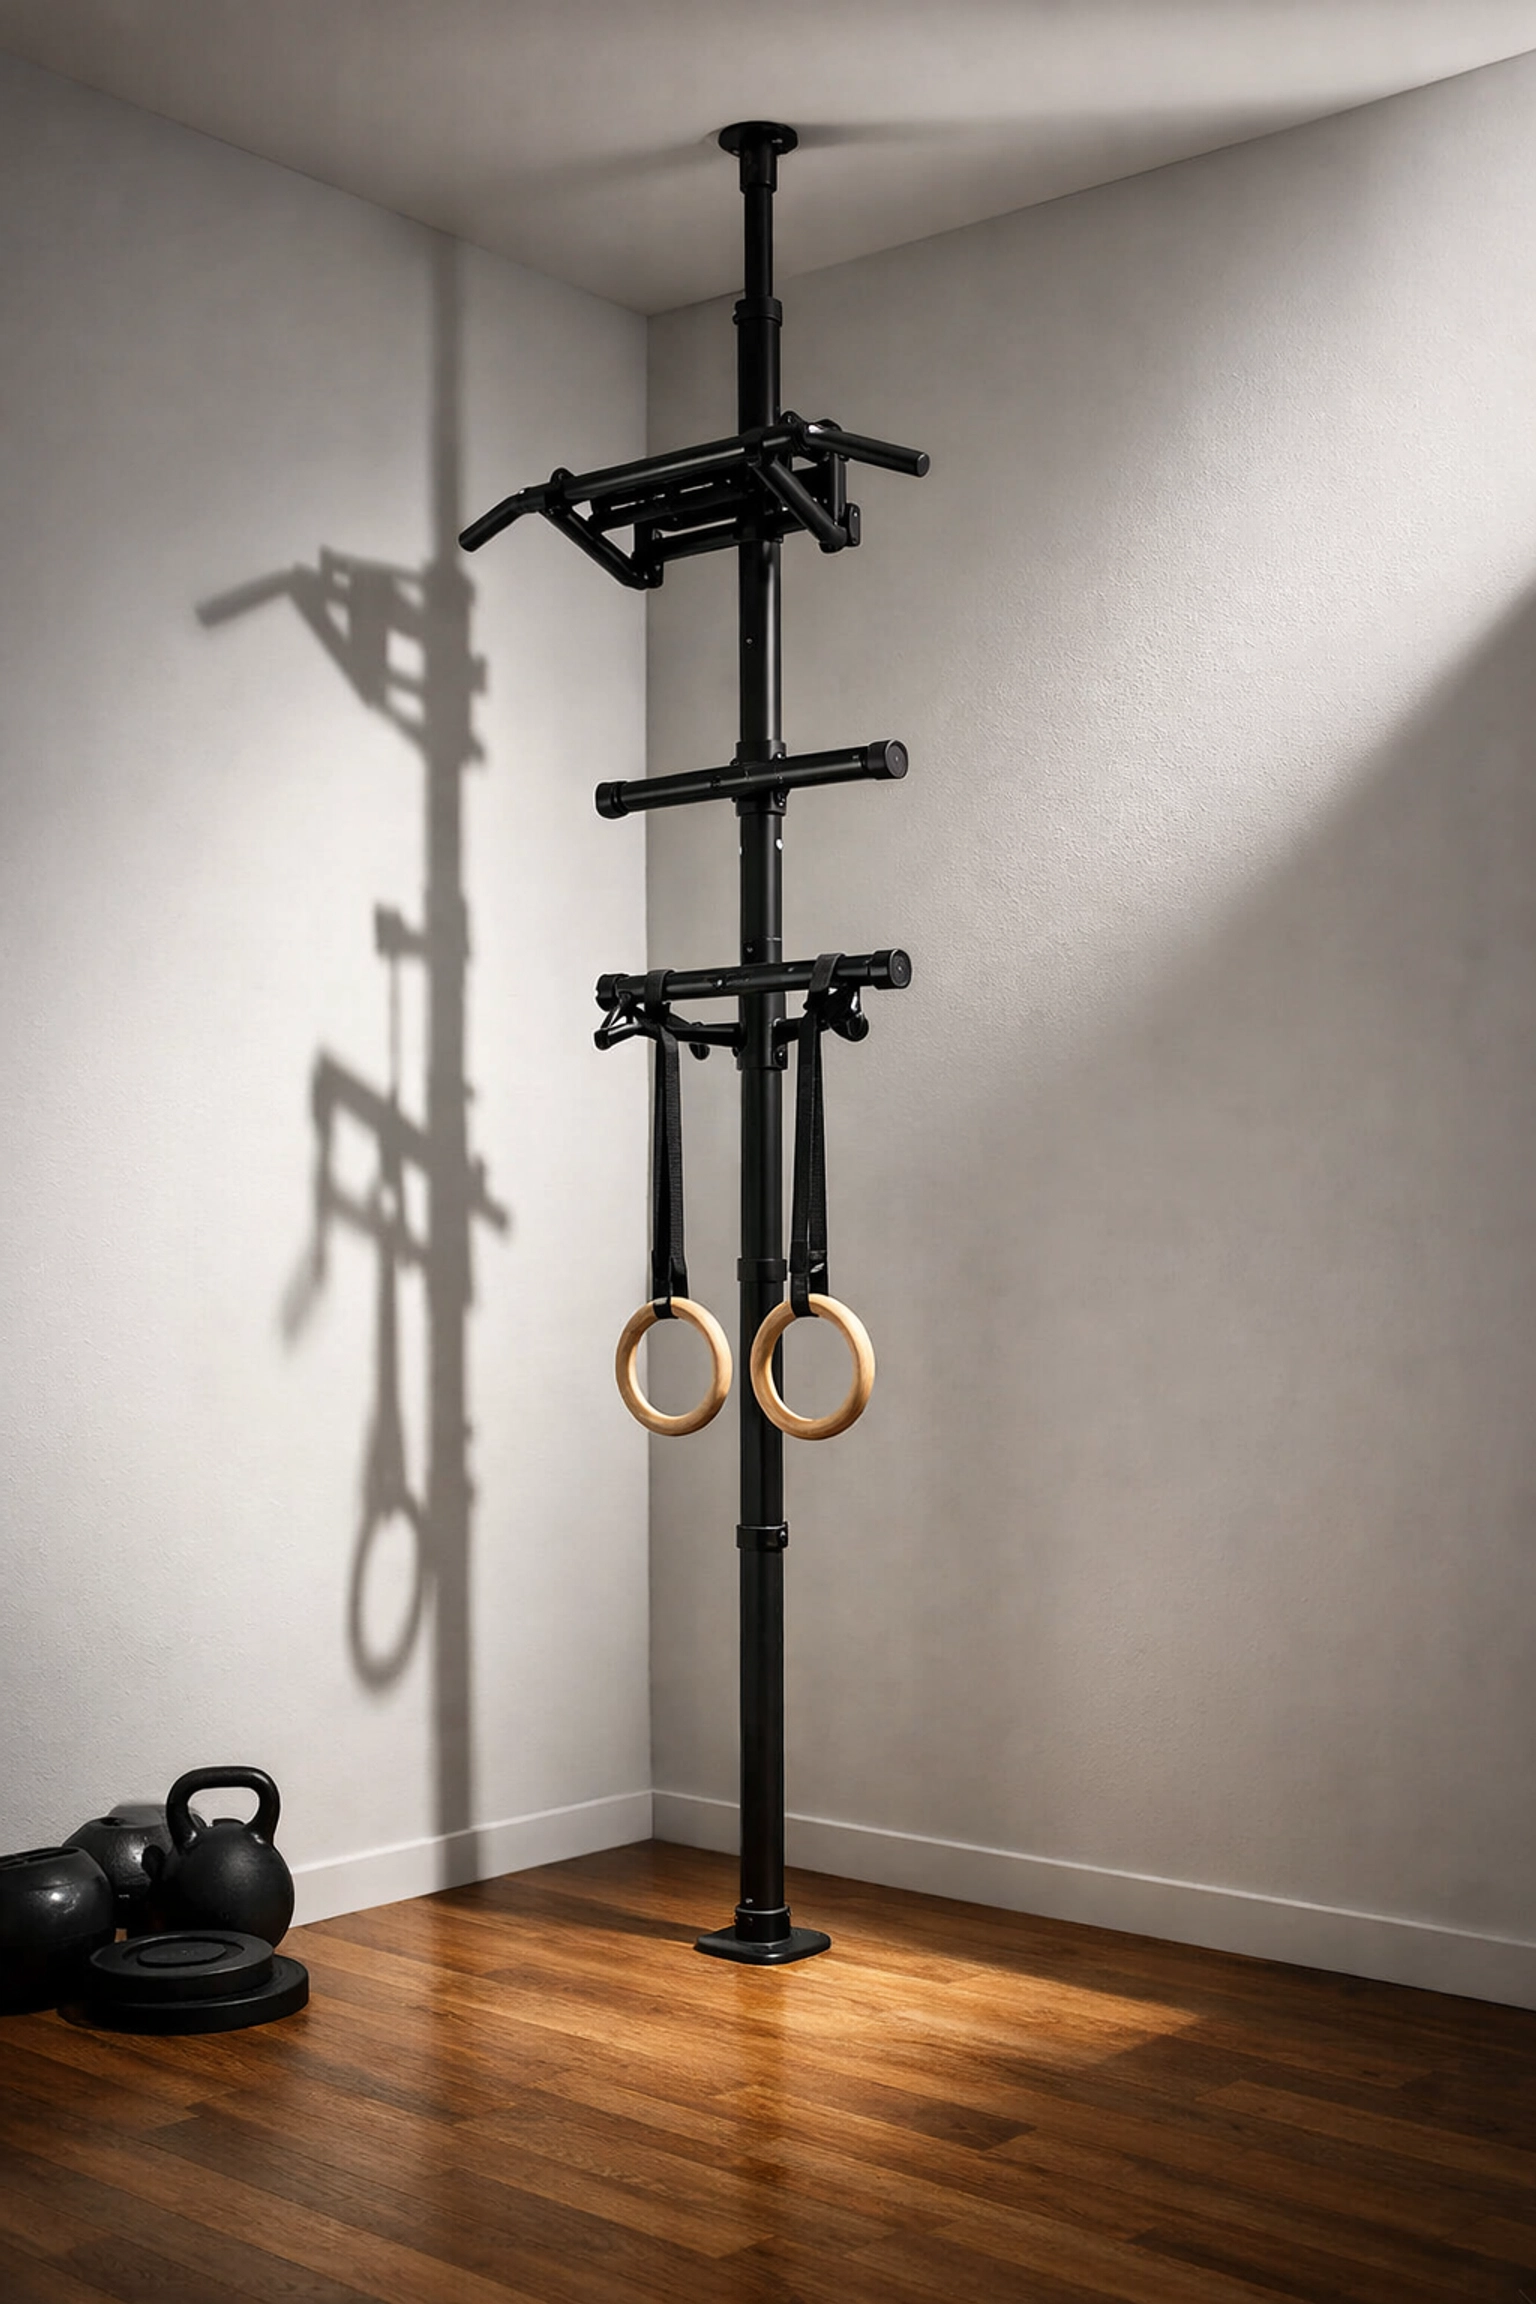
Here's why this matters: when you're doing weighted pull-ups with 50+ lbs hanging from your waist, or practicing bar muscle-ups, or doing explosive kipping movements, you need a system that won't flex, shift, or rip out of the wall. Tension-based systems distribute force across the entire vertical plane: floor to ceiling: instead of concentrating stress on two drywall screws.
Pro tip: Look for systems rated for 400+ lbs dynamic load. If the manufacturer won't publish weight ratings, that's a red flag.
Step 2: Add Multi-Plane Movement Options (Rings, Handles, and Attachment Points)
Once you've got your vertical anchor locked in, it's time to build versatility. Competition-level calisthenics isn't just pull-ups and dips: it's about training movement patterns across multiple planes and grip positions.
Your setup needs:
Gymnastic Rings – Non-negotiable. Rings give you infinite scalability for strength progressions. Start with ring rows and assisted dips, progress to ring muscle-ups and iron crosses. Get wooden rings if you're serious; they grip better when your hands sweat during high-volume training.
Multiple Grip Attachments – Rotate between wide-grip, neutral-grip, and close-grip pull-ups to build balanced strength. Systems like the Resistance Rail allow you to slide attachments up and down the vertical rail, letting you adjust height for different exercises without disassembling anything.
Parallettes or P-Bars – Essential for planche progressions, L-sits, handstand push-up variations, and V-sits. Medium-height parallettes (12-16 inches) give you the clearance needed for advanced skills without requiring a massive footprint.

Here's the thing most people miss: versatility isn't about owning 47 pieces of equipment. It's about owning equipment that adapts to multiple movement patterns. A good floor-to-ceiling gym system gives you pull-up bars, suspension points for rings, dip station functionality, and resistance band anchor points: all from one vertical rail.
This is how you train like an athlete instead of collecting gear like a hoarder.
Step 3: Build Your Resistance Ecosystem (Progressive Overload Without Weights)
Calisthenics purists love to pretend bodyweight is enough forever. It's not. If you want to compete: or just get stupid strong: you need progressive overload. That means adding resistance as you adapt.
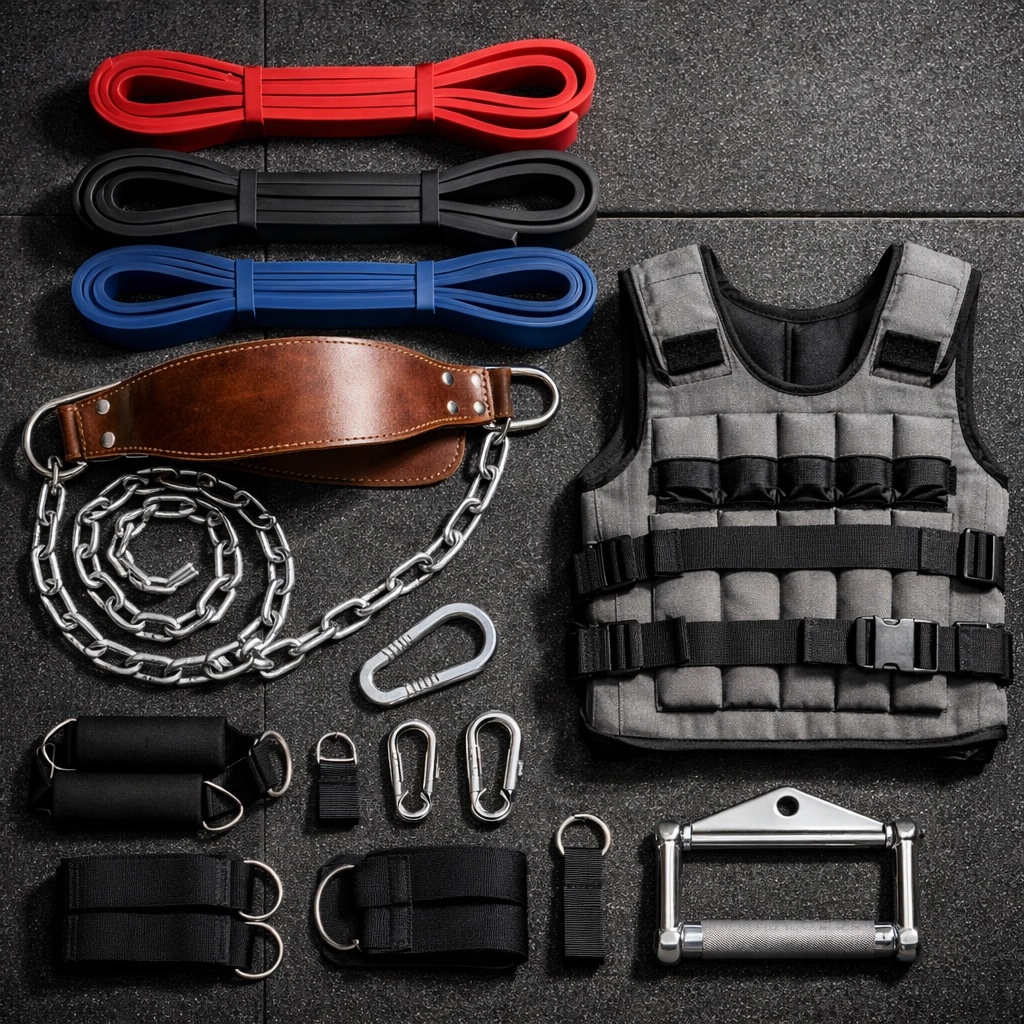
Your resistance ecosystem should include:
High-Quality Resistance Bands – Not the $12 set from Amazon that snaps during your first weighted pull-up. Get serious loop bands rated by actual tension (measured in lbs). Use them for:
- Warm-up mobility work and shoulder prehab
- Assistance on skills you're learning (assisted muscle-ups, assisted one-arm pull-ups)
- Adding resistance to exercises you've mastered (banded push-ups, banded dips)
Dip Belt with Chain or Rope – Once you're cranking out 20+ bodyweight dips or pull-ups, strap on weight. Start with 10-25 lbs and progress gradually. This is how you build the raw strength needed for advanced static holds and explosive movements.
Weighted Vest – Game-changer for push-up variations, pistol squats, and dynamic movements where a dip belt would swing around. A 40-60 lb adjustable vest gives you years of progression runway.
The beauty of a no wall damage workout system is that you can anchor resistance bands at multiple heights for exercises that would normally require cable machines: face pulls for shoulder health, tricep extensions, hamstring curls, and anti-rotation core work.
Check out the full range of calisthenics equipment for home to see how serious athletes are building complete training systems in small spaces.
Step 4: Designate Floor Space for Ground-Based Movements
Calisthenics isn't just hanging and swinging. Competition-grade training requires serious floor work: planche progressions, handstand training, pistol squats, shrimp squats, and mobility drills.
Here's what you need:
Quality Flooring – If you're training on carpet, you're limiting yourself. Get interlocking foam tiles or rubber gym mats. They protect your floors, dampen noise, and give you a stable surface for explosive movements and handstand work.
Minimal but Essential Ground Equipment:
- Parallettes (as mentioned in Step 2)
- Yoga blocks for scaling movements and improving mobility
- Ab wheel for advanced core progressions
- Resistance bands anchored low for leg exercises
The floor space in front of your vertical anchor becomes your planche station, your handstand wall (if you use one for training), and your pistol squat practice area. Keep this zone clear and dedicated.
Space hack: If you're tight on room, your floor-to-ceiling system becomes your floor equipment storage. Hang parallettes, resistance bands, rings, and other gear from hooks or attachment points on the rail when not in use. Everything stays organized and accessible.
Step 5: Program Your Training Zones (Turn Equipment into a System)
This is where most people fail. They buy great equipment, set it up, then train randomly without structure. Competition athletes don't train randomly: they program movements into zones and progressions.
Organize your gym into functional training zones:
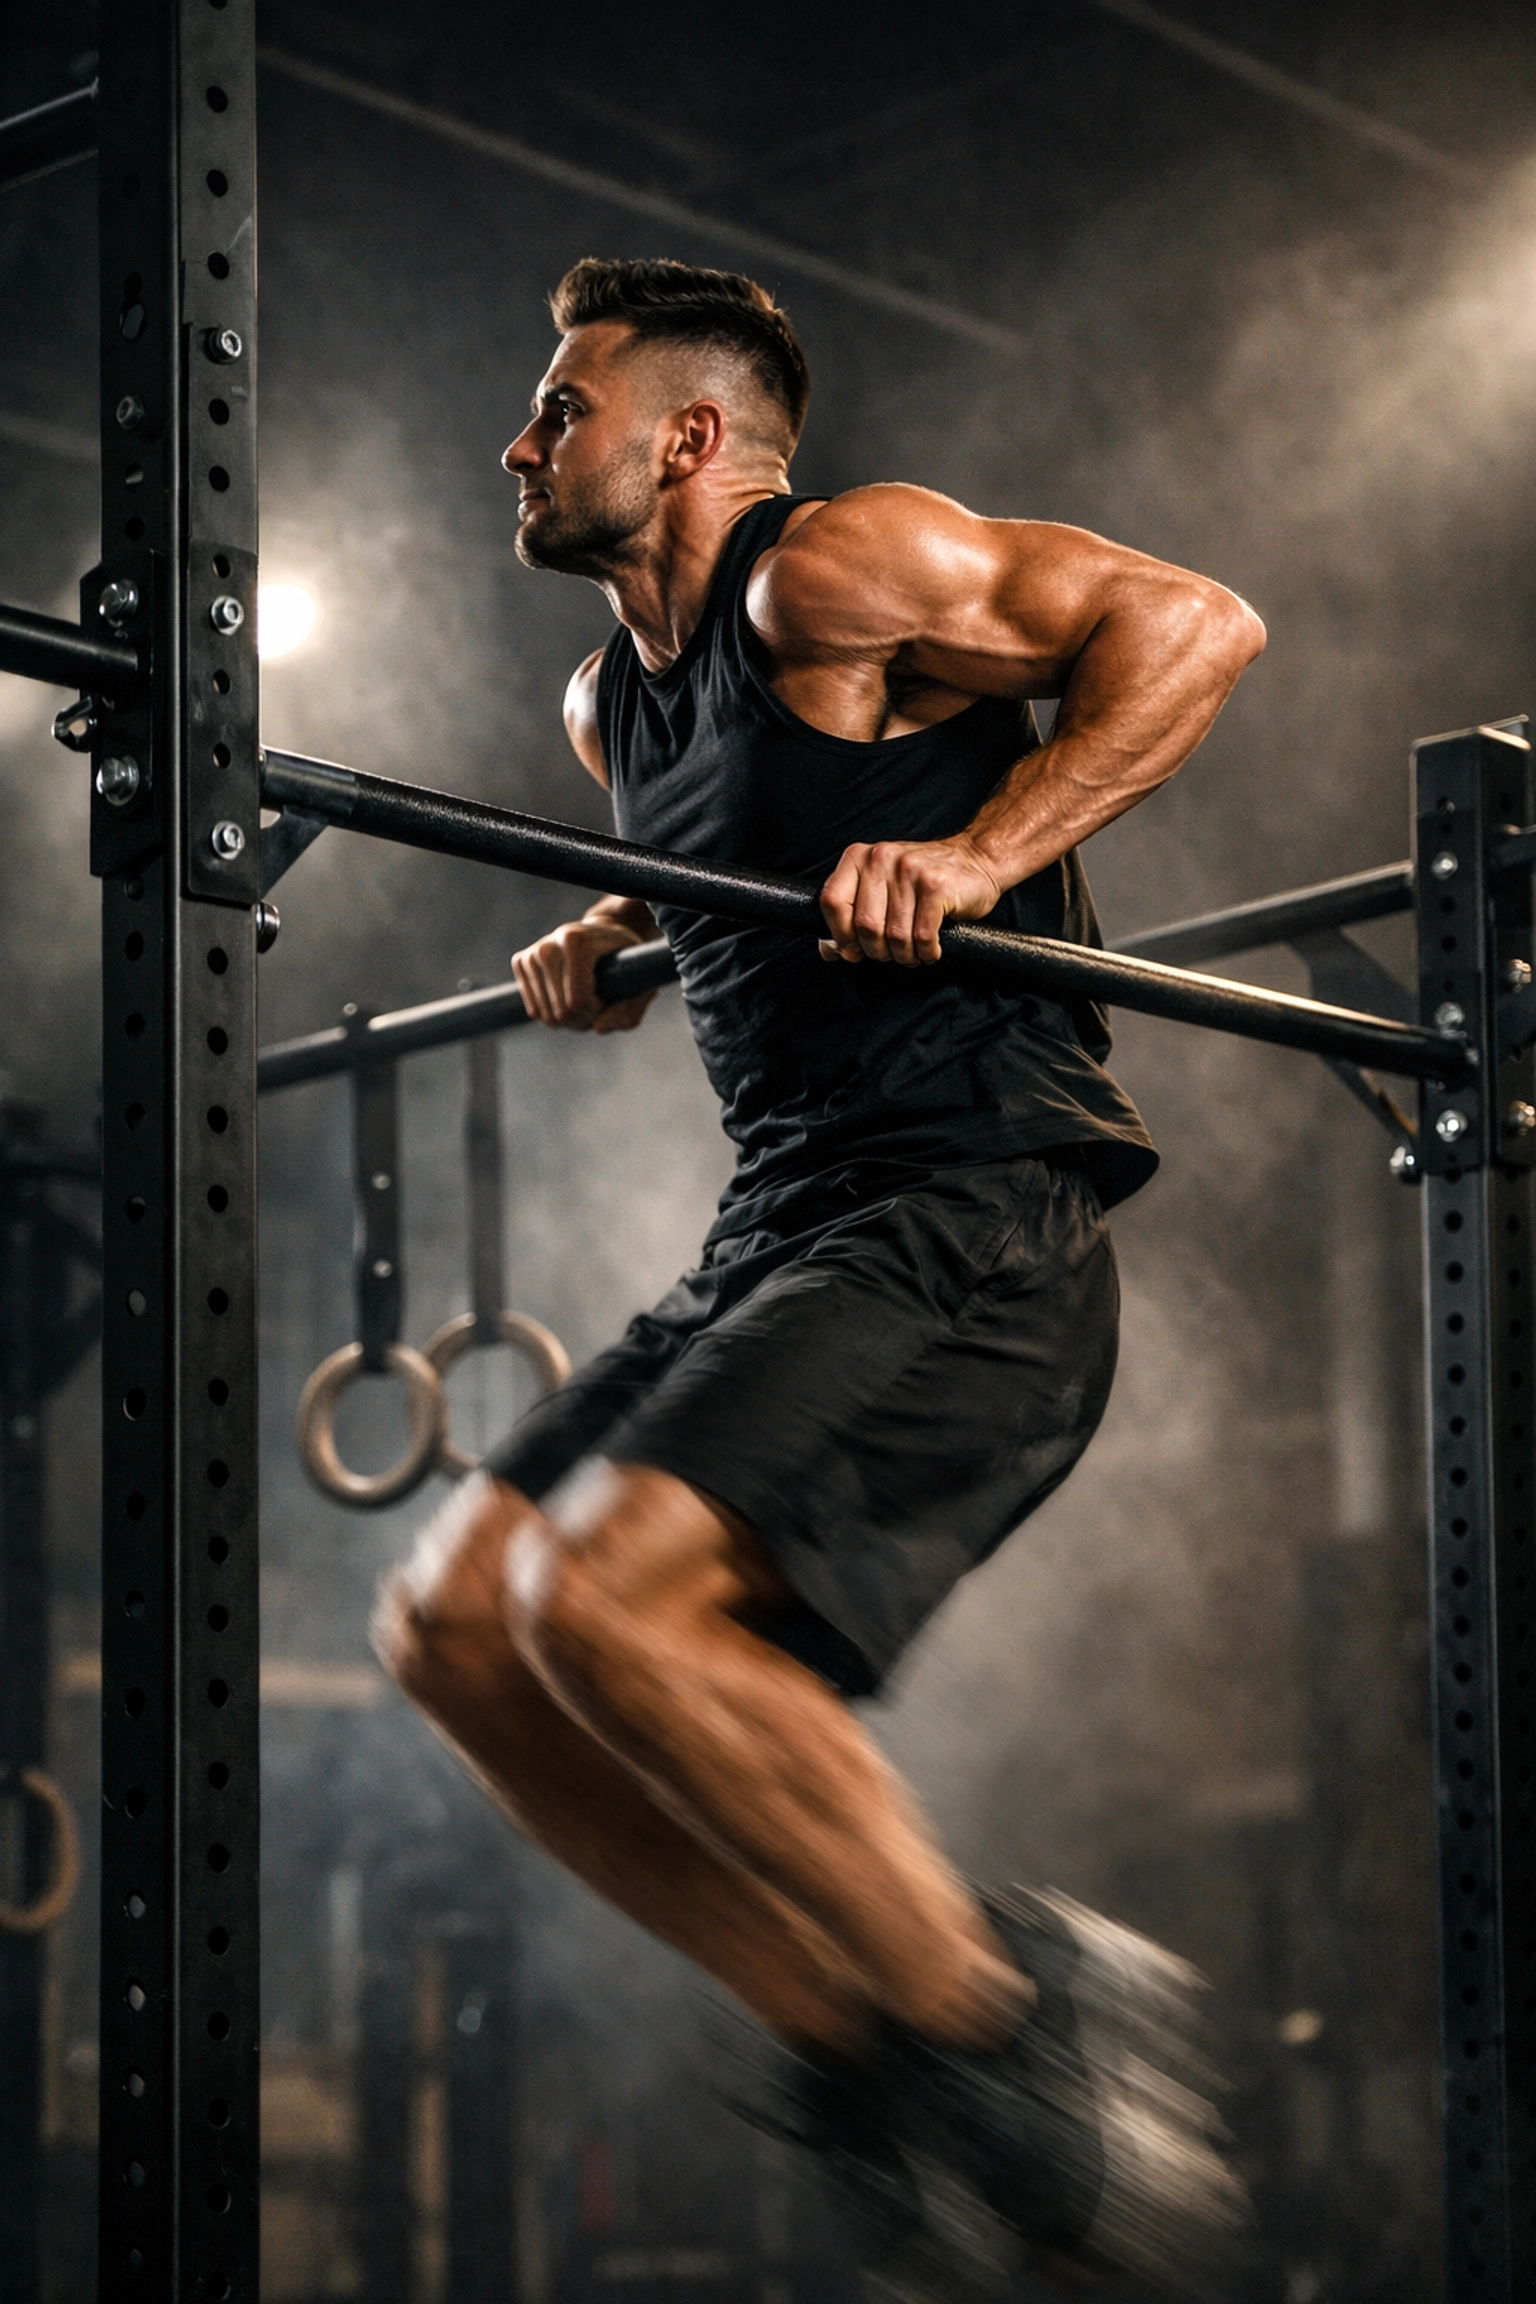
Zone 1: Vertical Pull Station – Pull-ups, muscle-ups, hanging leg raises, skin-the-cats, typewriter pull-ups, weighted pull-ups. This is your vertical anchor point with rings and bars.
Zone 2: Vertical Push Station – Dips, ring dips, elevated push-up variations. Use your vertical anchor with dip attachments at the appropriate height.
Zone 3: Floor Work Station – Planche progressions, handstands, pistol squats, parallette training. Your open floor space with ground equipment.
Zone 4: Resistance/Mobility Station – Band-assisted movements, shoulder prehab, warm-up drills. Bands anchored at various heights on your system.

Now here's the competitive edge: rotate through zones during your training sessions instead of doing all your pull-ups, then all your dips, then all your floor work. This "zone rotation" approach keeps intensity high, reduces rest times, and builds the kind of work capacity you see in ninja warrior courses and CrossFit competitions.
Example session structure:
- 5 minutes: Zone 4 (band warm-up, shoulder mobility)
- 10 minutes: Zone 1 (pull-up progressions)
- 10 minutes: Zone 3 (planche work and pistol squats)
- 10 minutes: Zone 2 (dip progressions)
- 10 minutes: Zone 1 (muscle-up practice or ring work)
- 5 minutes: Zone 4 (cool-down stretching)
This is how you extract maximum training value from minimal equipment.
Why the "No Wall Damage" Approach Actually Makes You Train Harder
Here's something nobody talks about: permanent wall-mounted rigs make you lazy.
When your pull-up bar is screwed into the wall in your garage, you only train when you're motivated enough to go to the garage. When your entire gym sets up and breaks down in 60 seconds: or stays permanently installed using a tension system that you can move between rooms: you have zero excuses.
The Bold Body Fitness approach to versatile home gym equipment is built around this philosophy: eliminate barriers between you and training. Competition athletes train frequently because their equipment is accessible, adaptable, and doesn't require a dedicated 200-square-foot room.
A floor-to-ceiling system means:
- Set up in your living room for morning training
- Move it to your garage for weekend warrior sessions
- Take it outside when the weather's perfect
- Pack it up when you have guests over (or don't: it looks badass)
This flexibility breeds consistency. Consistency breeds results. Results breed championships.
The Bottom Line: Build Once, Train Forever
Building a competition-grade calisthenics home gym without touching your walls isn't a compromise: it's an upgrade. Modern tension-based systems give you the stability and versatility of permanent installations with none of the commitment or damage.
Your five-step blueprint:
- Establish a rock-solid vertical anchor (floor-to-ceiling system)
- Add multi-plane movement options (rings, attachments, bars)
- Build your resistance ecosystem (bands, weighted gear, progressive tools)
- Designate floor space for ground work (mats, parallettes, mobility tools)
- Program your training zones (structured approach, not random workouts)
This setup serves everyone from CrossFit athletes building pull-up volume to ninja warriors practicing obstacle transitions to MMA fighters strengthening their grip and core. It's the same equipment competitive gymnasts use for conditioning, just configured for your space and lifestyle.
Stop making excuses about not having space or permission to drill holes. The athletes beating you in competitions aren't making those excuses: they're training smarter with equipment that actually works.
Get started building your setup at boldbodyfitness.com and join the community of serious athletes who refuse to let logistics limit their potential.
Now get off the internet and go train.